Easter Week

We had a great Easter week in our house so I thought I’d share a bunch of highlights with you.

easter-week-1

We started the week by decorating our Easter eggs. I blow the whites and yolks out and they last about a week. How do you do it, do you hard boil them?

easter-week-2

We found some fun Easter accessories from the dollar section at Target – slippers for Z and these ears for M.

easter-week-5easter-week-4

The day before Easter we went to the zoo where Z got her face painted for the very first time! Then we came home and decorated our Easter Bunny cupcakes.

easter-week-3

Later that night…the Easter Bunny came, ate the carrot the kids left out for him…

easter-week-8

…and filled their Easter baskets with some goodies that this baby clearly had fun with.

easter-week-6easter-week-9

Then it was off to church where we did an Easter egg hunt followed by mass – I love this photo of everyone feeding their baby as we waited for mass to begin.

easter-week-7

Then we spent the afternoon with family – eating, chatting, and having fun. M had a pretty great first Easter.


Ps. His outfit, her outfit.

Finlandia Butter

I love toast – crunchy, warm and the best part? The butter. We’re always on the hunt for a good butter so I was psyched when Finlandia Imported Butter reached out to give theirs a try. You can find it locally in MA at Shaw’s in either unsalted or salted stick form. For baking we use unsalted but for things like toast? Salted all the way. Finlandia makes a delicious European butter made from milk from cows that live on small Finnish family farms and are never given any hormones.

finlandia-butter-3

And it’s so good. If you take the butter out of the fridge about a half an hour before using it, it warms up perfectly so it’s spreadable (and not hard as a rock!) on your toast or bread. I love that the only ingredients are pasteurized cream, salt, and milk. And the taste is super creamy with a slight salty taste. This butter tastes so delish I had to take a bite of my toast before I took a photo, ha. Let me know if you try Finlandia Imported Butter – enjoy!


Thanks for supporting Styled by Jess by clicking through the links above – please and thank you!

Super Easy, Super Cute Easter Bunny Cupcakes

easter-bunny-cupcakes-7

Nothing says Easter like Easter Bunny cupcakes, am I right? I am always trying to make on-theme desserts for a certain little pre-schooler and these certainly made her a happy girl. You can make your own cupcakes of course or even just buy undecorated cupcakes from a bakery or grocery store and just add the simple decorations.

easter-bunny-cupcakes-1

You’ll need frosted cupcakes, jelly beans, coconut, black icing, and bunny ears. To make the ears I just cut the shapes from white and pink construction paper and taped them to toothpicks (see? Easy.)

easter-bunny-cupcakes-2

Roll the frosted cupcake top in coconut and make sure it’s fully covered.

easter-bunny-cupcakes-3

Decorate! Halved jelly beans make the perfect eyes and nose for a bunny. Draw whiskers and a mouth with your black icing. Stick in the ears.

easter-bunny-cupcakes-5

Voila – Easter bunny cupcakes to please any/all kiddos. Enjoy!

PS. Easter bunny Rice Krispie Treats

Toddler Craft Project – Construction Paper Salad

toddler-craft-vegetable-salad

For March’s toddler craft for our local Baby Bootcamp Stroller Friends play date the theme was vegetables since a rep from a local farm was coming to teach the kiddos about vegetables and “eating a rainbow,” so I had to think of something veggie-friendly for our craft. Then I thought if you ask any toddler and they will call lettuce “salad,” as if there’s nothing else to salad!

toddler-craft-vegetable-salad-1

So, I thought it would be fun to cut a bunch of vegetables out of construction paper and have the kids make their own, very colorful construction paper salad. I pre-cut all the veggies (and had the plate in the first photo as a key of sorts for the parents to know what each color/shape was supposed to be) but had the kids tear up the green construction paper to prep their own “lettuce” for the salad. You can have your toddler help cut the veggies if they’re good with scissors.

toddler-craft-vegetable-sal

Everyone’s salads were so colorful and unique! After the craft the farm rep shared some vegetables from the farm and the kids could eat an actual salad, too! A great way to learn about vegetables – I hope you try this one with your kiddos!

12/52

12-52-Z

My husband put the Sophia the First soundtrack on my very old (first ever, actually) iPod and she sat and listened to it bopping around, sometimes singing, and occasionally dancing. She also kept touching the tiny screen because she’s used to her iPad. #oldtechnology

12-52-MJ

Borrowing my new book.


Spring Craft Classes

I wanted  to share the links to my craft classes for the spring again, now that it is sort of (some days) actually feeling like spring. This term I’m doing a 3-class series called Handmade Tuesdays with Jess. Click here to sign up for all 3 classes and save! Below you can read the catalog description of each class and click through to sign up for individual classes. All classes are taught at Arlington High School in Arlington, MA. Can’t wait to see you in class!

hand-painted-vase-1

Hand-painted Glass Vase
Tuesday, April 7 7-9pm

Glass painting is fun and simple if you know how. Join master crafter Jess as she leads you through prepping and painting a clear glass vase, perfect as a gift or for your own windowsill, with light shining through. All materials will be provided. You’ll be able to paint your vase free-hand or use stencils and painter’s tape for a more precise design. Then make more vases at home once you learn the technique. Please bring an additional $10 materials fee to instructor at class.
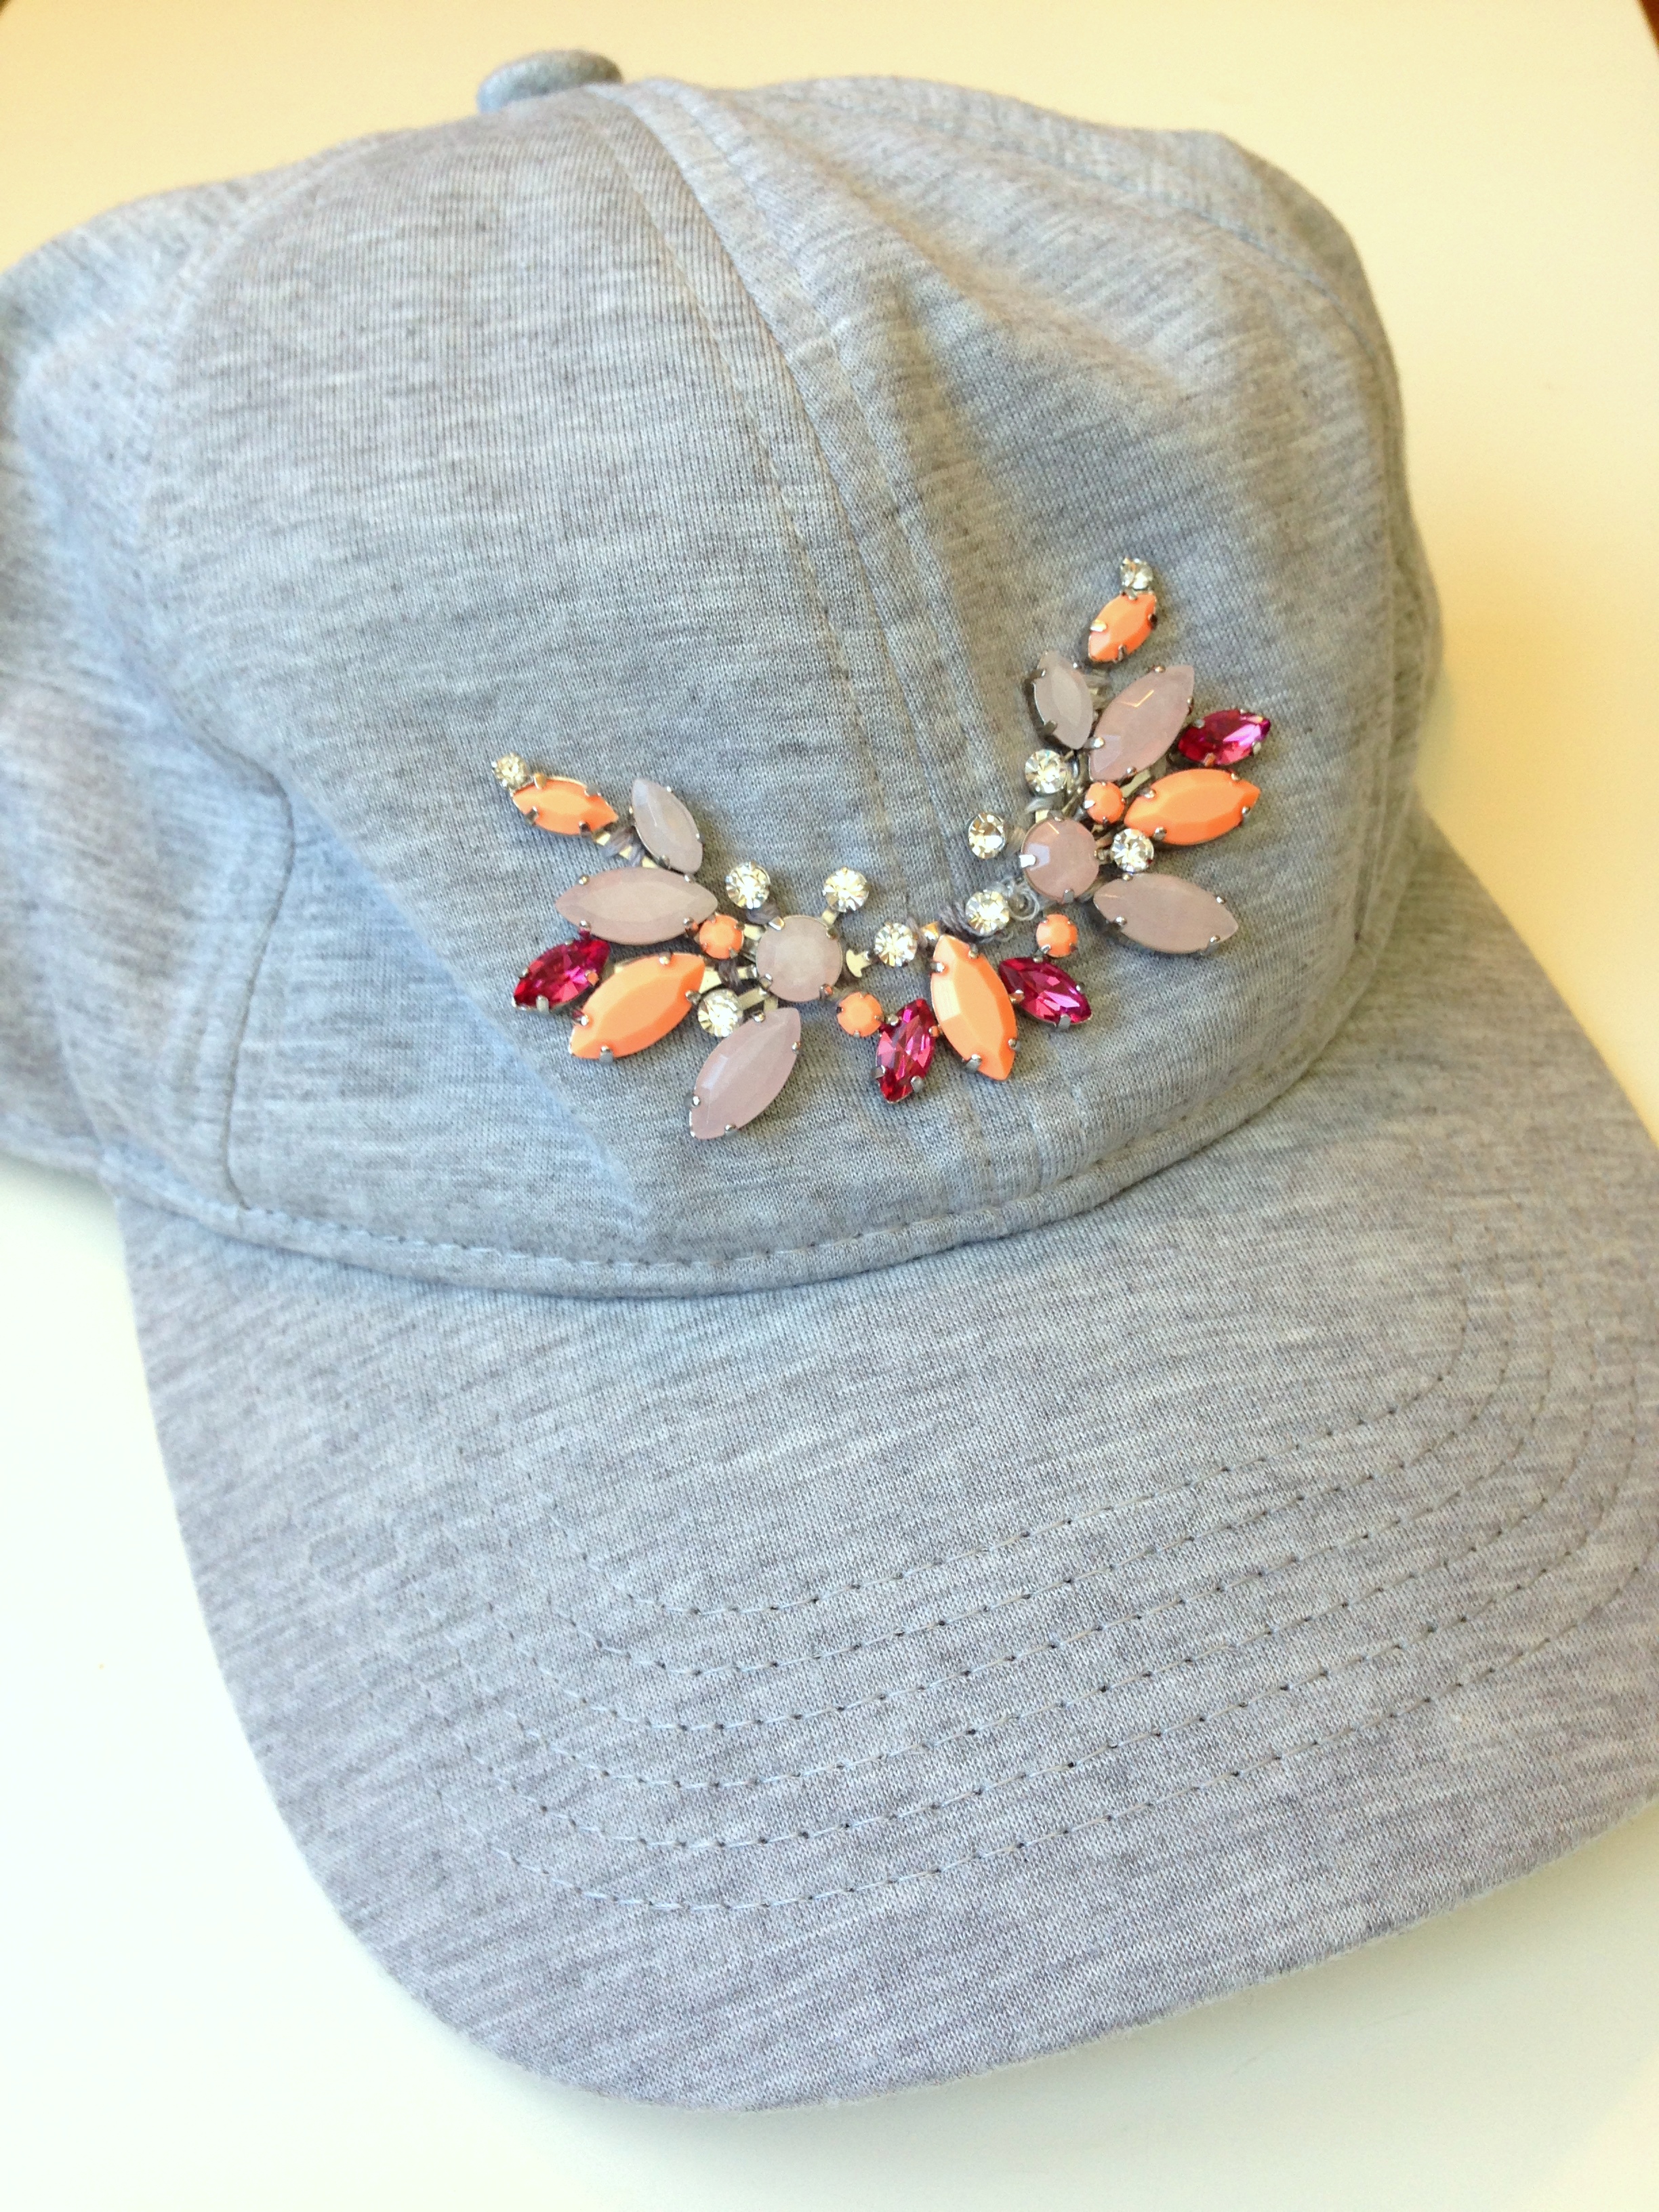
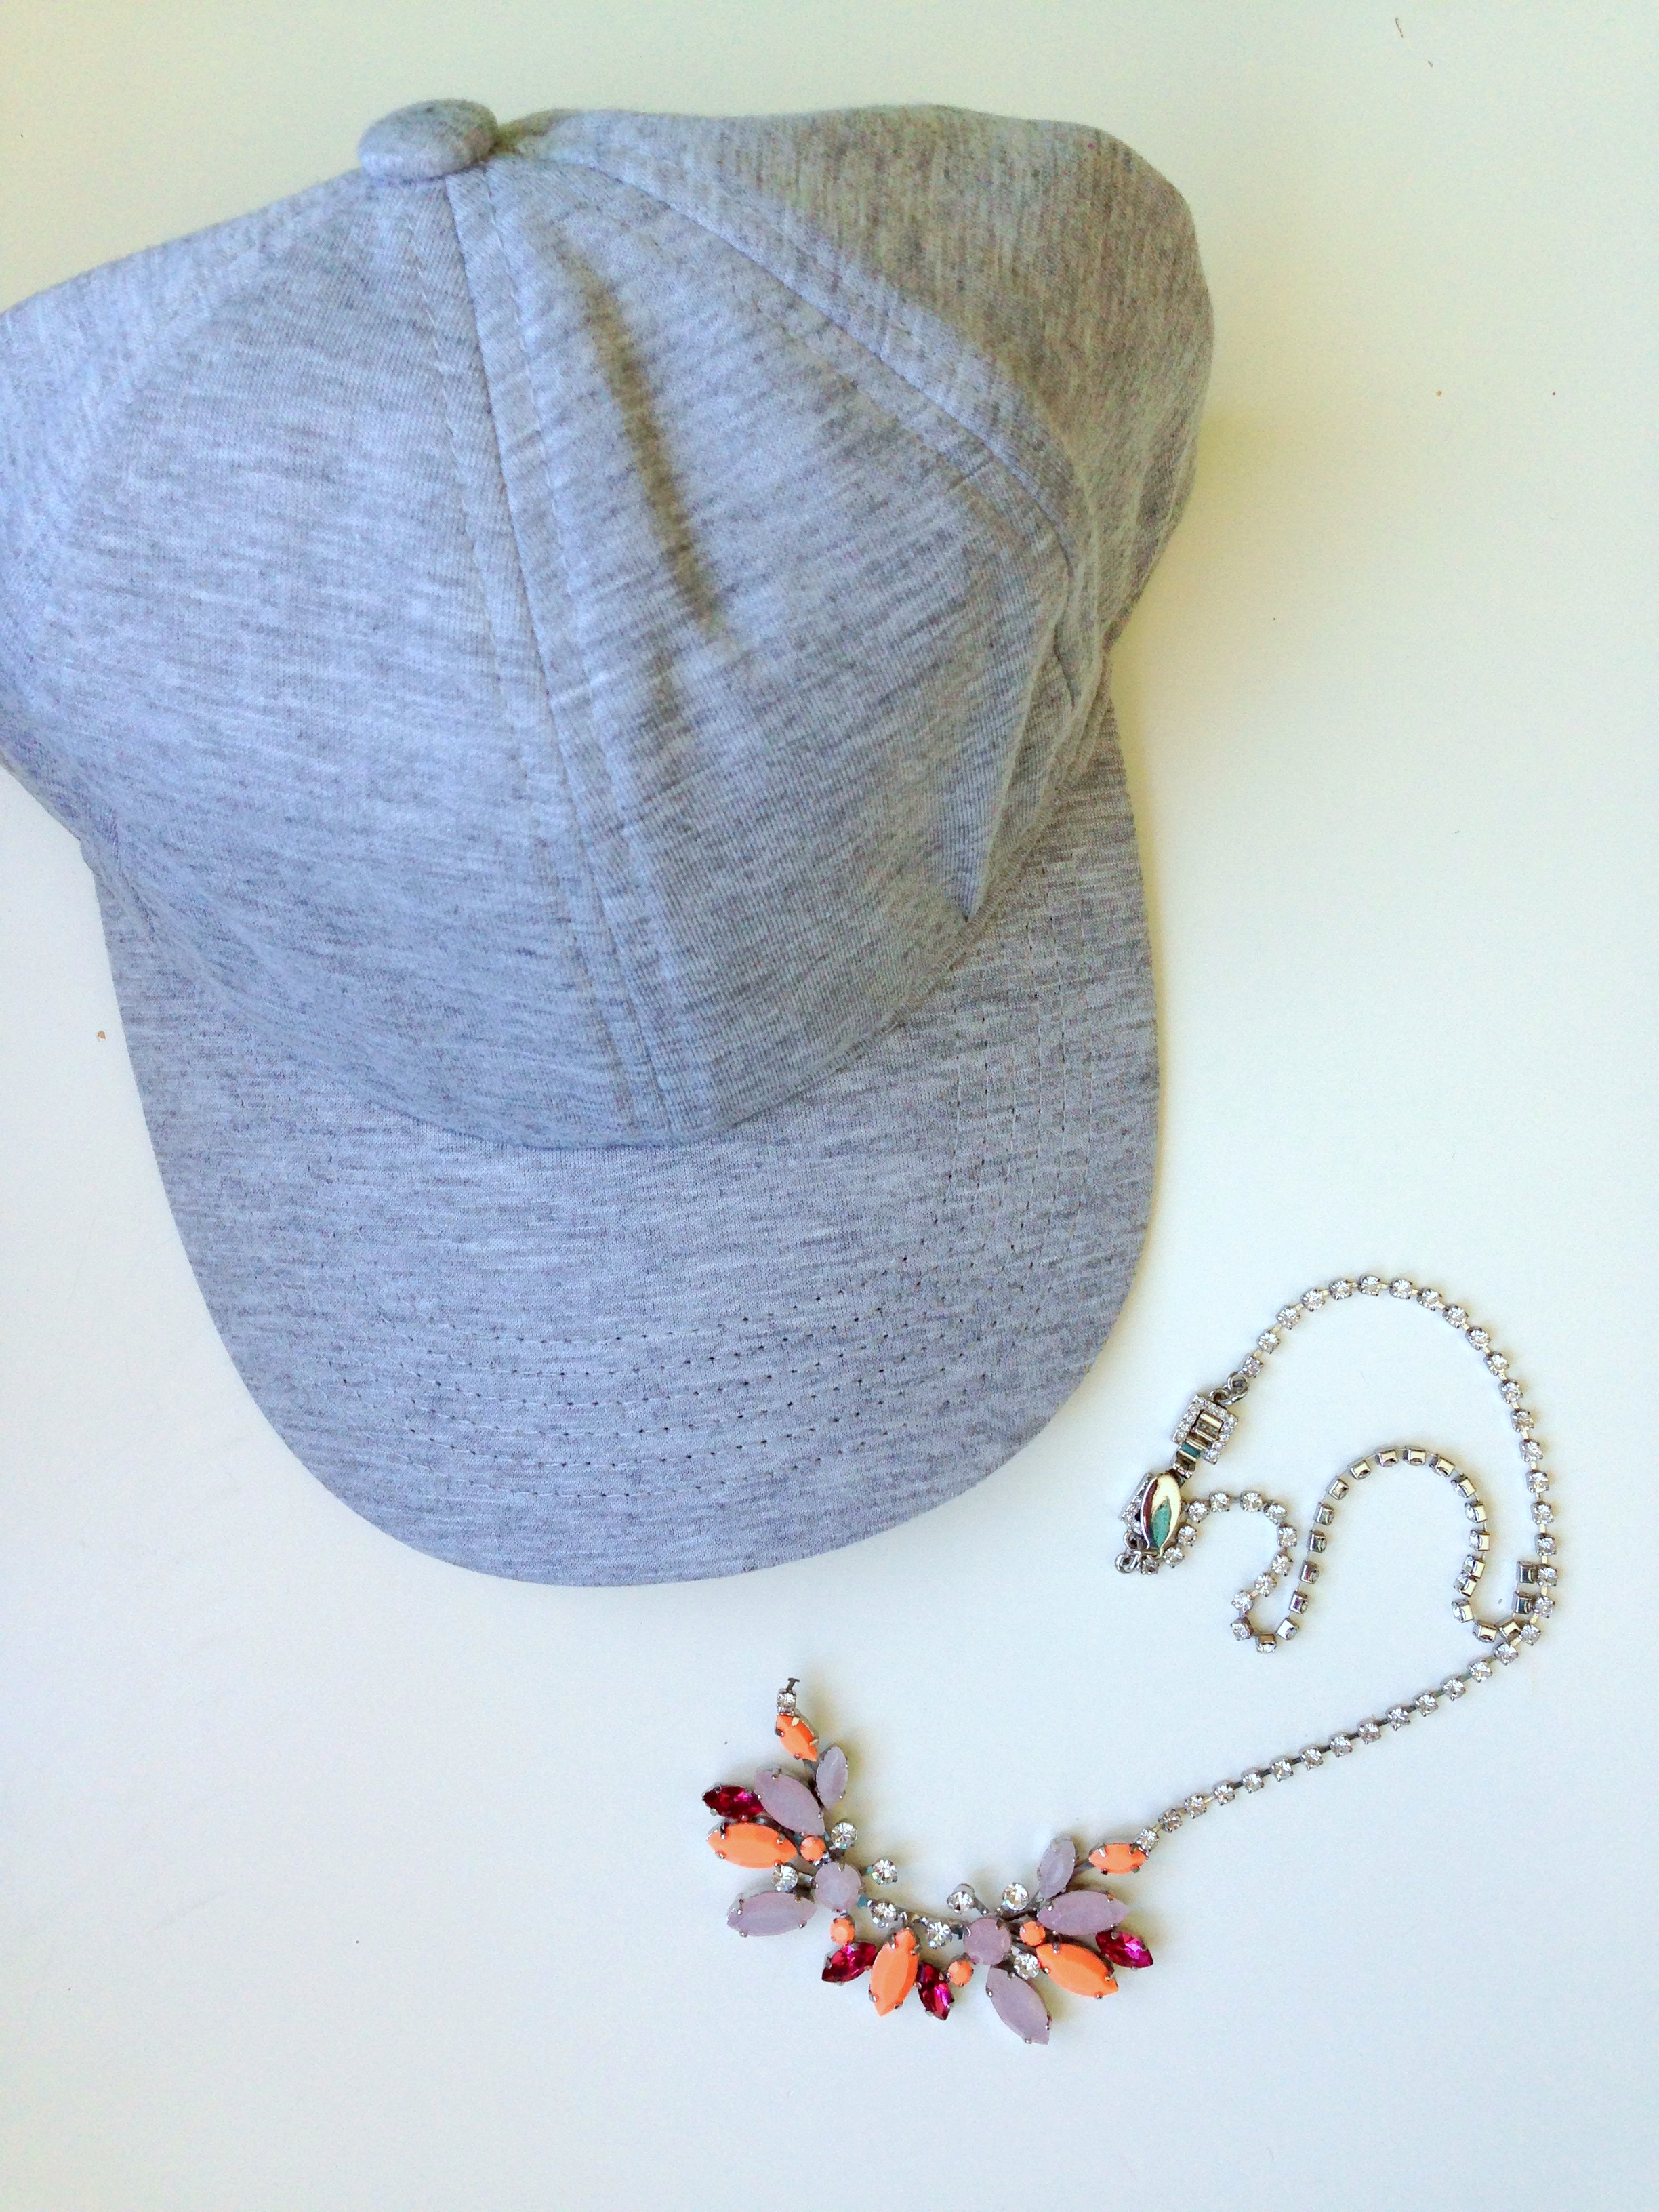
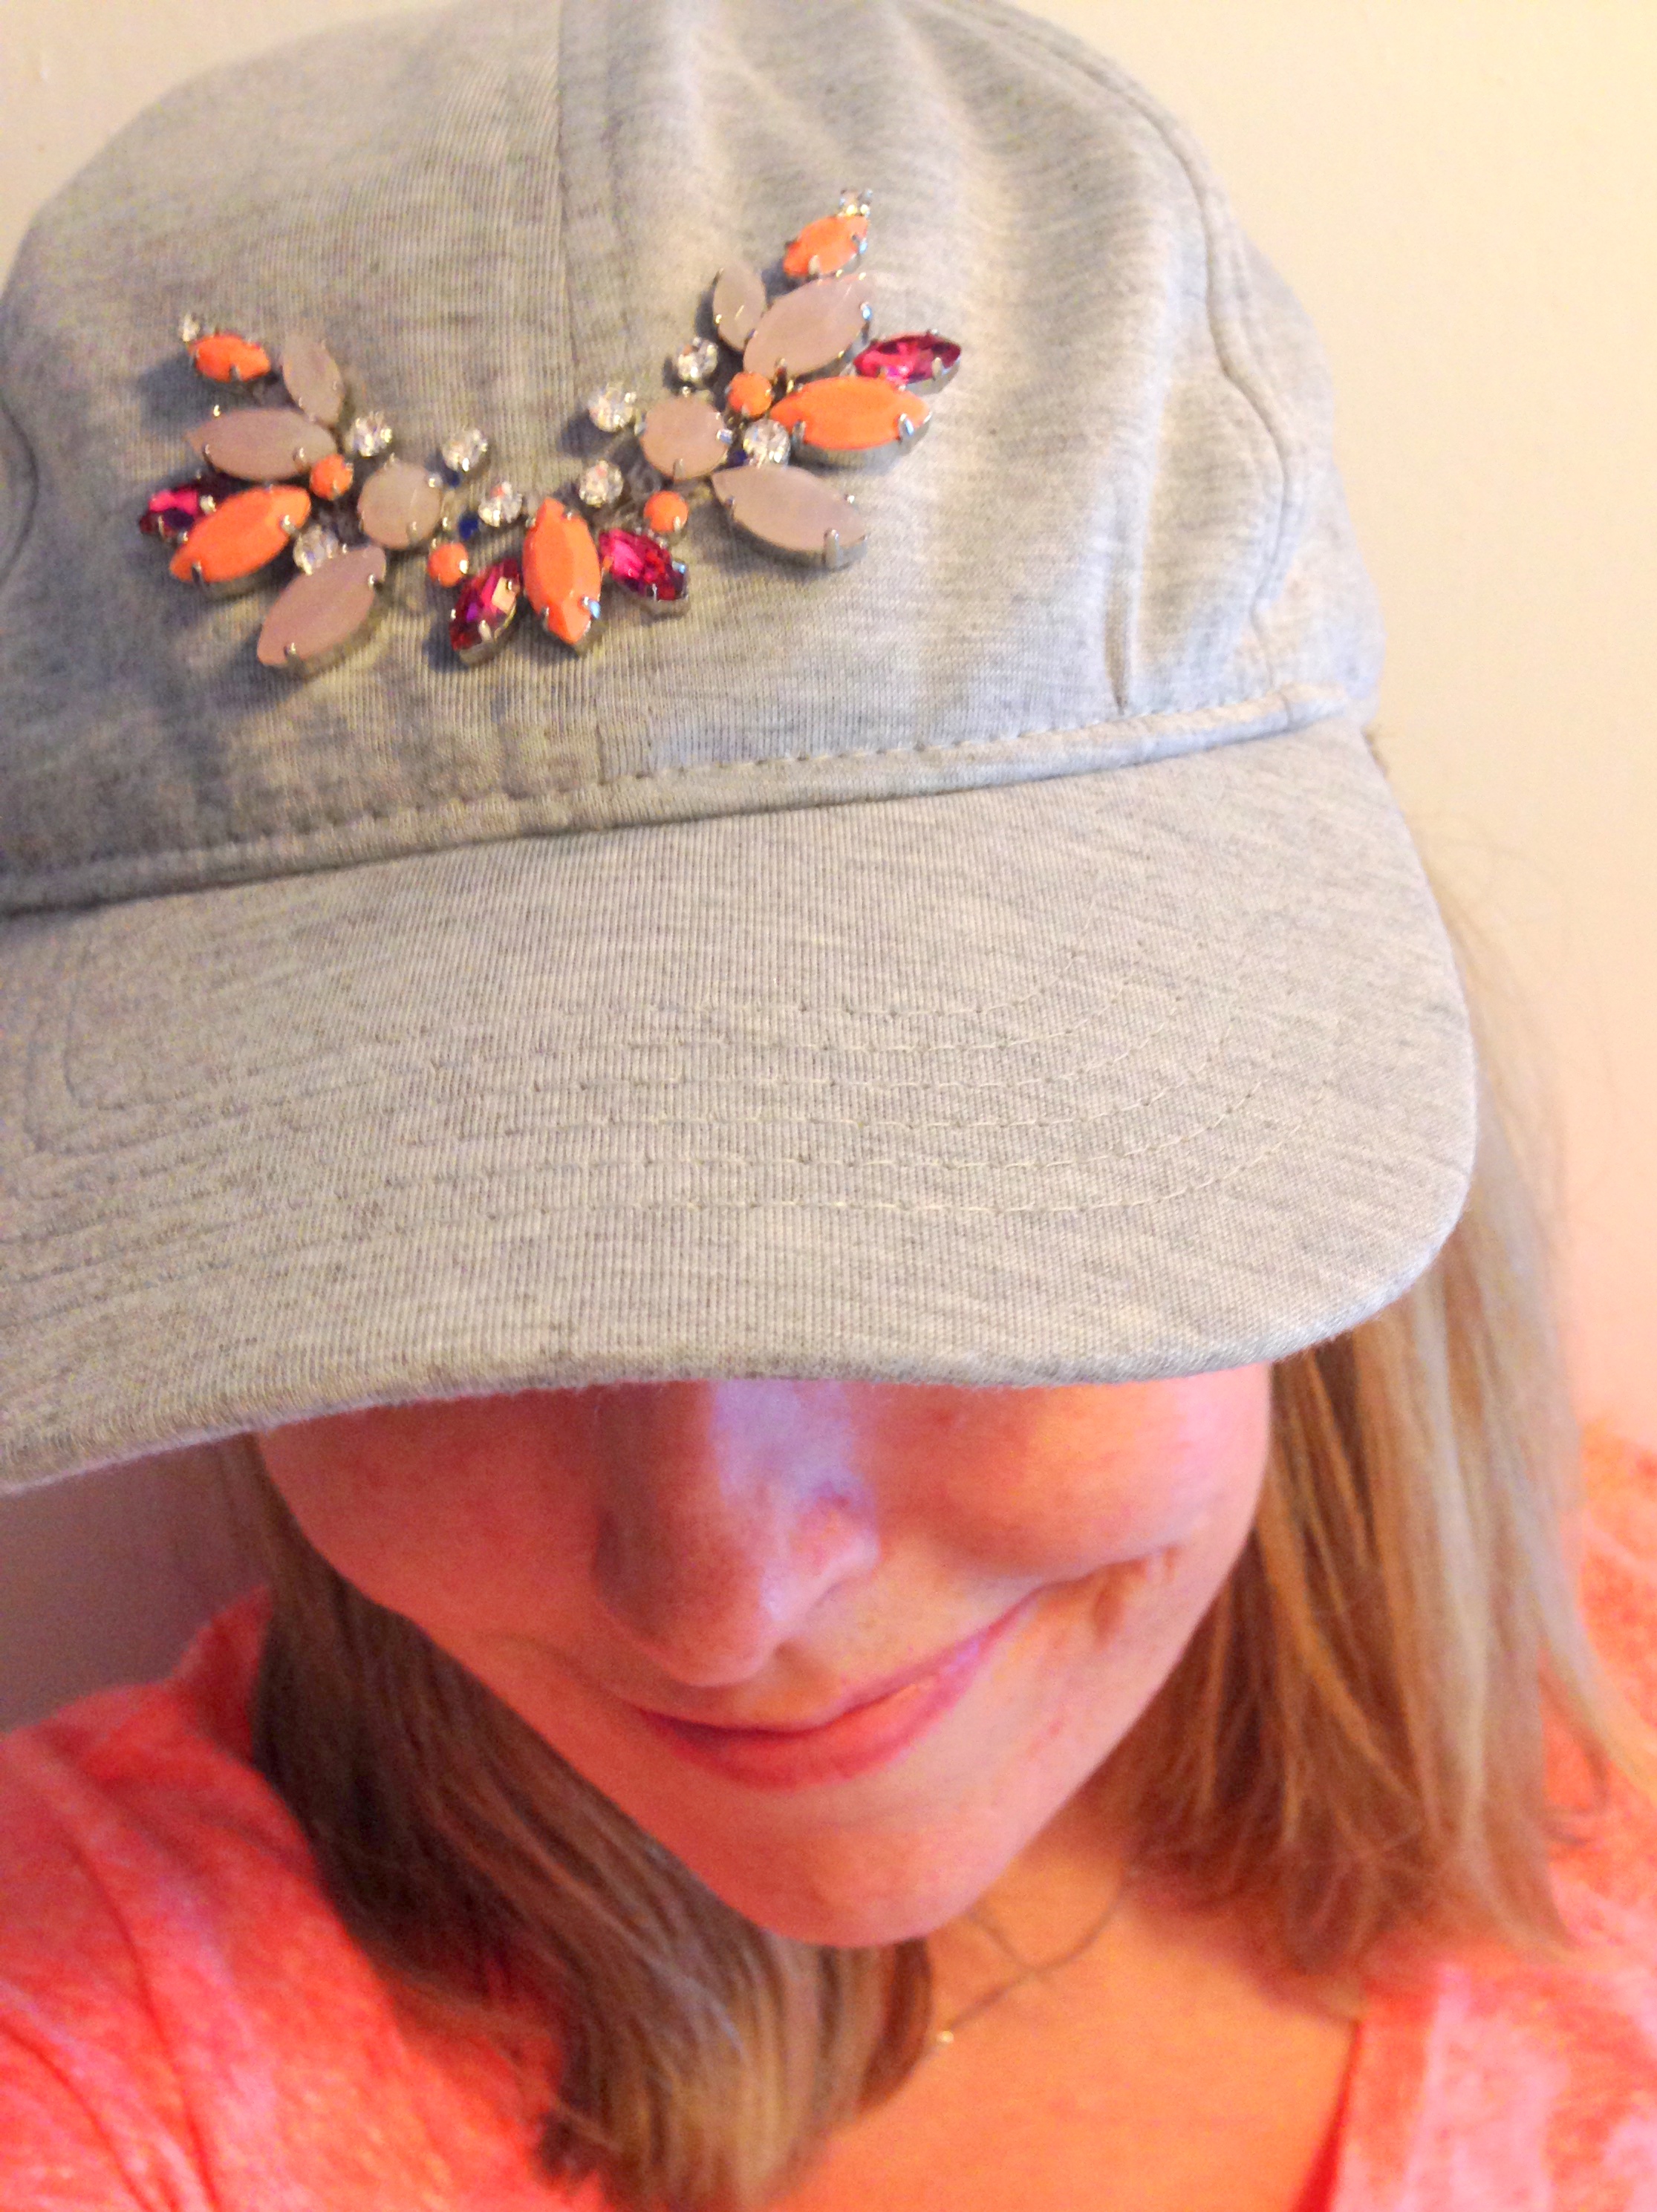
handmade-delicate-necklace

Handmade Jewelry
Tuesday, April 14 6:30-8:30pm

Try your hand at making something more demure than a statement necklace. Learn how to make delicate handmade jewelry this spring with Jess. Each student will make two pieces of jewelry (necklaces, bracelets, or one of each). Please bring your own needle-nose pliers to class if you have them. Please bring additional $16 materials fee to instructor at class.  Children over the age of 9 are welcome to register when accompanied by an adult.

flower-card-11

Handmade Mother’s Day Cards
Tuesday, April 28 7-9pm

In May 2014 one of Jess’s handmade cards appeared in Martha Stewart Living magazine, in fact it was a card she made for her own mother! Come make this “Martha Stewart Approved” Mother’s Day card, and create two additional cards using rubber stamps, washi tape, embossing powder and more. Please bring scissors suitable for cutting paper and a $10 material fee. Children over the age of 9 are welcome to register when accompanied by an adult.

Easter Outfits

Next up for an Easter outfit – baby M! Since I already did the suspenders and bow-tie look for him for Christmas, I decided to go a little more low-key for this holiday. I found the sperry top-siders for him before he was even born and knew they’d be perfect for an Easter outfit. Then I found the little seersucker pants that were just – seersucker pants for a baby so how cute is that? Then I threw in some accessories and this adorable Easter outfit was made.

baby-boy-easter-outfit

1. A bunny hat, because how can a baby not wear a bunny hat on his first Easter? 2. A basic gray zip up sweater from Zara. 3. Linen shirt from baby GAP that he can wear all summer with the sleeves buttoned up to make short sleeves. 4. Blue striped seersucker pants, these from Ralph Lauren are similar to the ones I found. 5. Adorable felt carrot basket from Paper Source for gathering eggs. 6. Adorable baby Sperry top-siders that I actually found on clearance at TJ Maxx (lucky find!).

DIY Embellished Baseball Cap

DIY-Embellished-Hat-3

Ever have a broken statement necklace that is beyond repair and looking to do something with it? DIY embellished baseball cap, my friends! I’ve had this necklace from Ann Taylor for years and wore it with a million different things until one day it snapped – the necklace part was quite thin silver with more faux diamond jewels on it so I wasn’t too surprised when it just fell apart. But I love the beaded area with the coral, pink, and lilac gems and didn’t want to just toss the whole thing. Then I kept seeing caps like this and this while I was out and about and a light-bulb went off – embellish a baseball cap with the broken necklace!

DIY-Embellished-Hat

There’s not much of a tutorial, really. I just found this gray baseball cap at Old Navy and used gray thread to sew the necklace onto the front of the cap. The necklace had what were almost like branches holding the beads together so I just sewed over every “branch” to make the necklace as secure as possible.

DIY-Embellished-Hat-8

I love it! Can’t wait to wear it out this summer – I happen to have loads of that orange/coral color.