
Chasing Daddy and big sis, he crawled his little heart out but could not catch up!
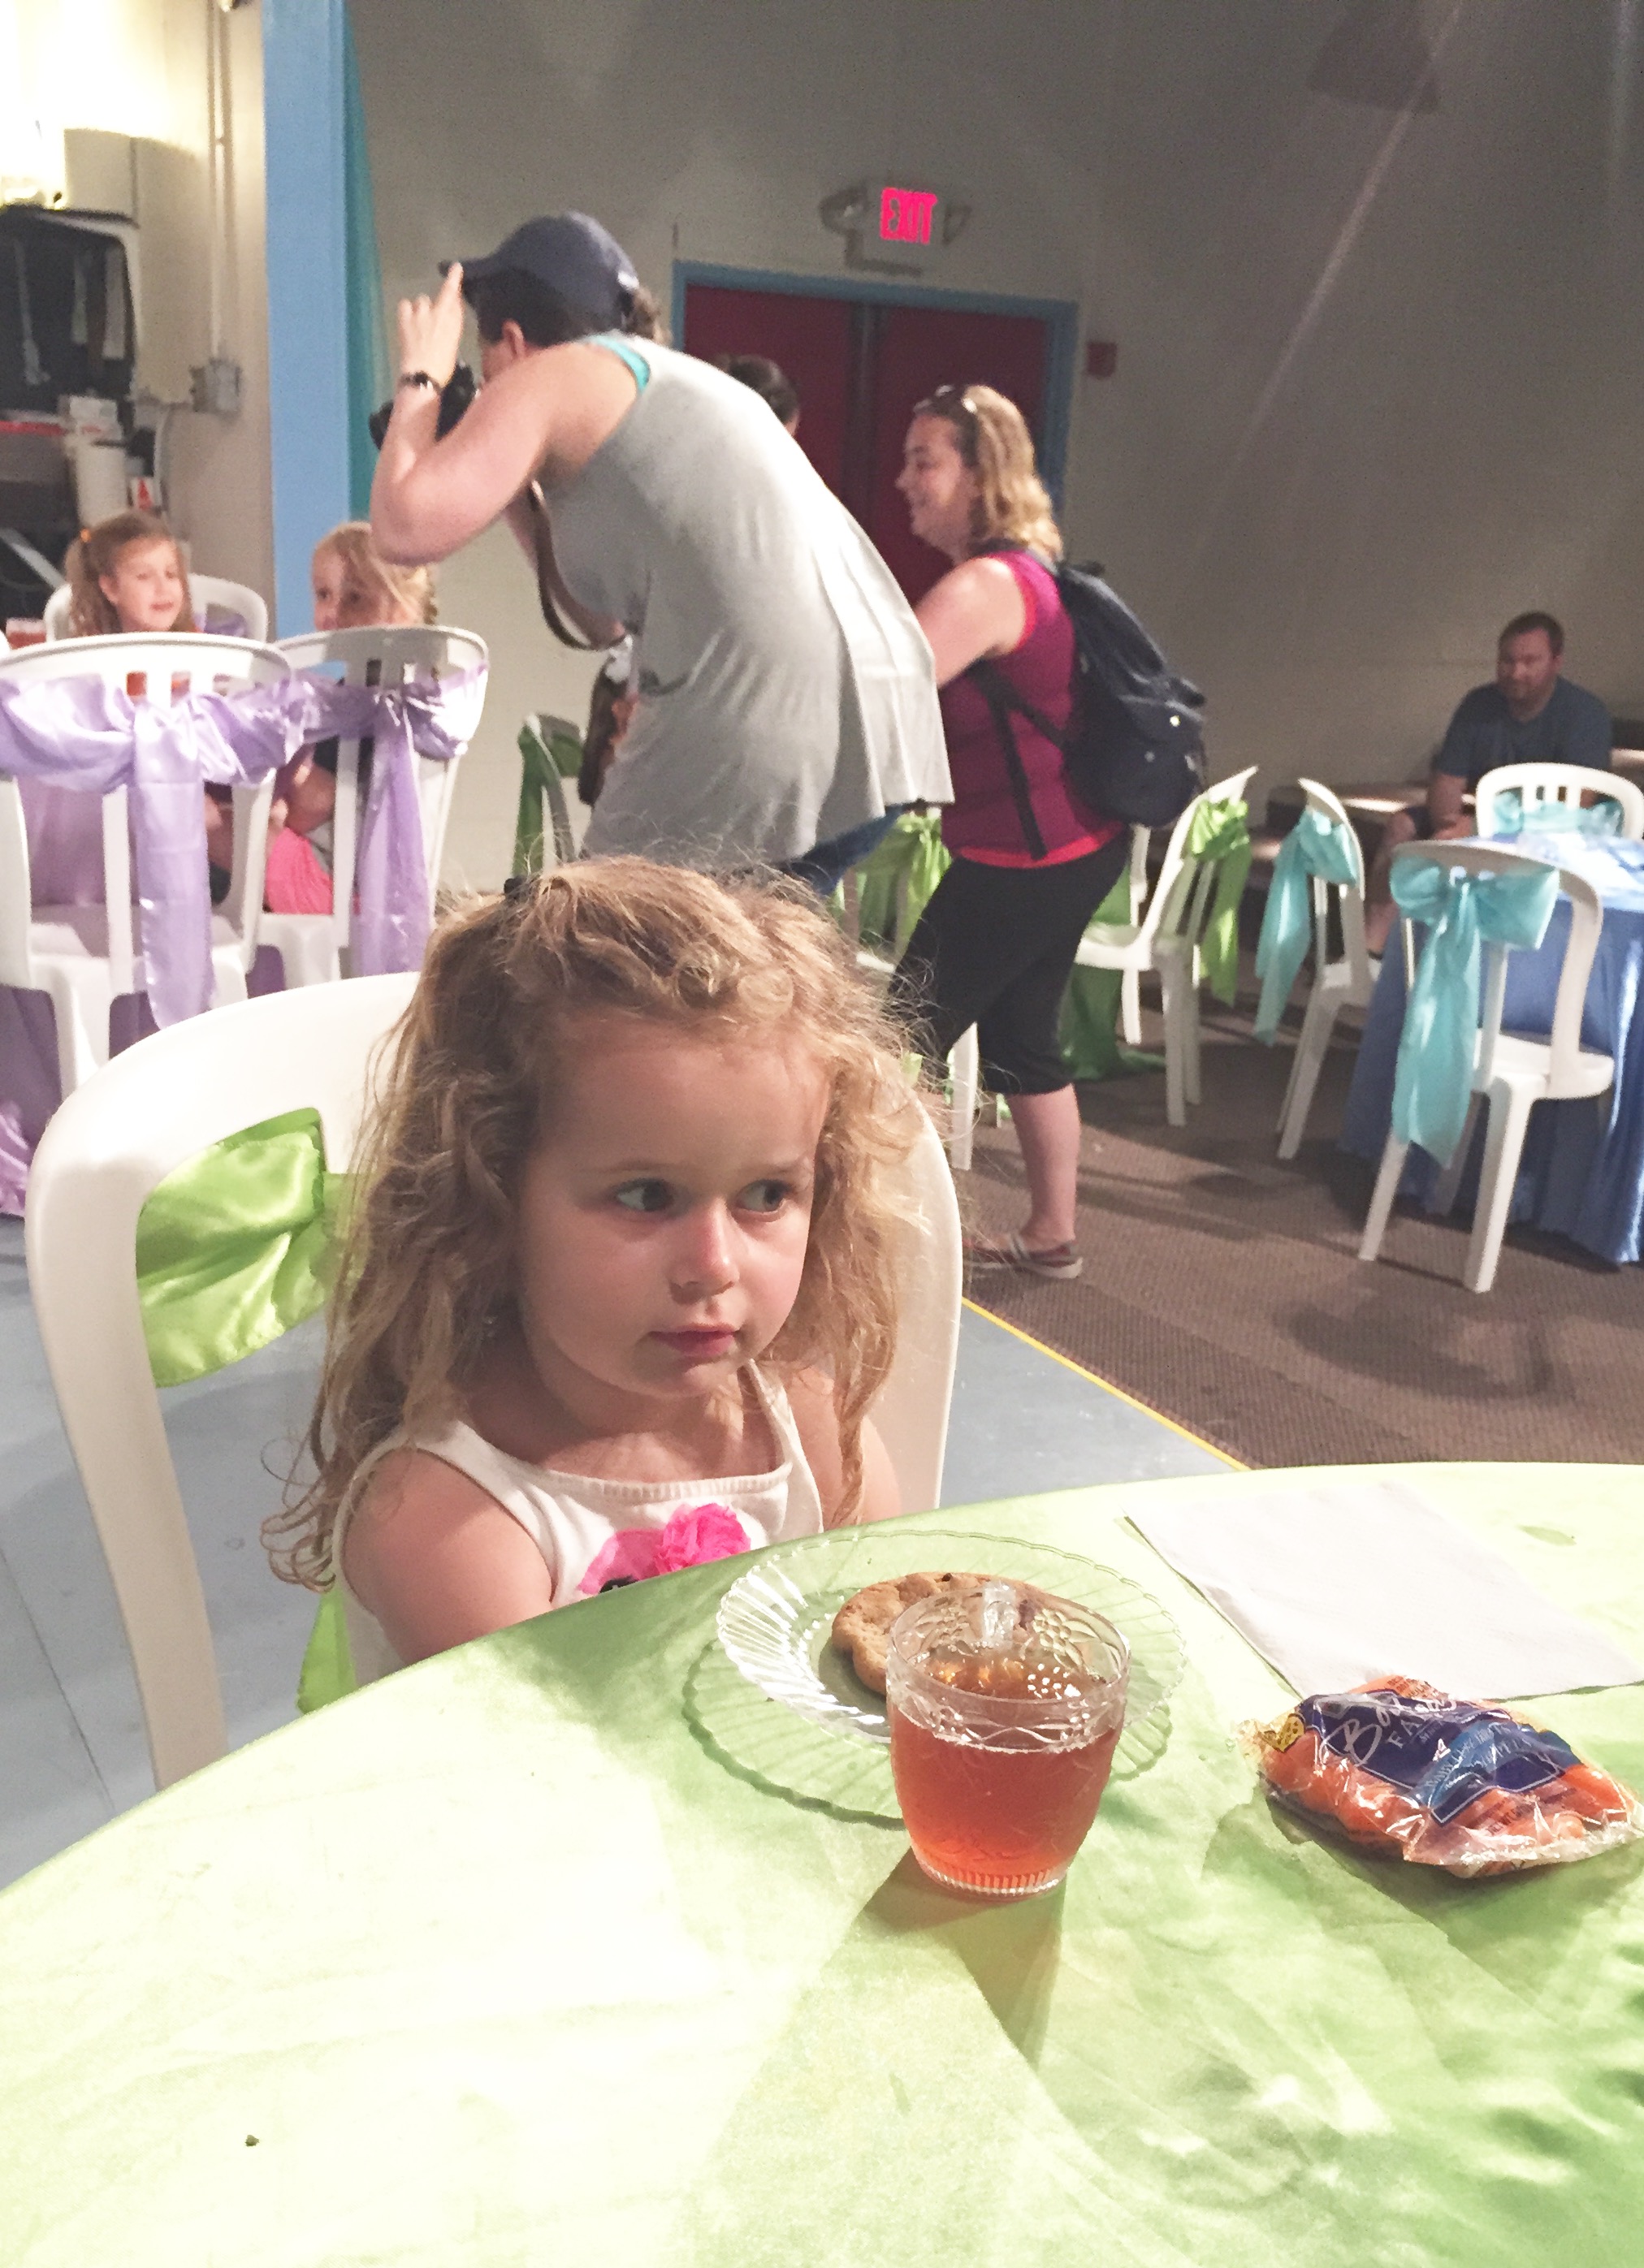
We went to Story Land in NH this past week and having tea with Cinderella was her absolute highlight. Here she is very nervous waiting for Cinderella to arrive.
Chasing Daddy and big sis, he crawled his little heart out but could not catch up!
We went to Story Land in NH this past week and having tea with Cinderella was her absolute highlight. Here she is very nervous waiting for Cinderella to arrive.
We celebrated our wedding anniversary, the beginning of strawberry season, AND Father’s Day this past weekend so I thought it warranted a blog post – why not? We headed down to Newport, RI for the weekend and kicked it off with a night out for my husband and I (thanks M&D) to celebrate 6 years of wedded bliss (most of the time) with a dinner out and perhaps a couple too many drinks. =)

We ate at tsk (that’s Thames Street Kitchen) and it did not disappoint. The space is very cozy (and no AC so be prepared to sweat in the summer!) and a menu that changes weekly depending on the local ingredients available. Oh, and it’s BYOB so bring your fave bottle of wine or stop in at the liquor store down the street if you forget.

The food was incredible – above is my appetizer: tempura soft shell crab, so delicious. They had 5 entree options and almost always have a version of their fried chicken and always a beef option. For dessert they only had cookies, donuts, or ice cream which felt very simple to us but after such a gourmet meal a tiny donut was just what we needed.

The next day was perfect strawberry picking weather so to the farm we went! We love Sweet Berry Farm in Middltown, RI for all our berry picking – (strawberries, peaches, blueberries and raspberries, and even before kids!).

This time everyone seemed to help me pick…

…and ate only a few.

It sure was exhausting (for them too, ha!).

The next day was father’s day and we celebrated with my husband, dad, and brother in law. On our way out of town we hit up the venue where we got married where there’s an old fashioned carousel. We love, love where we got married especially because we can visit every year with the kids and go down memory lane of our fabulous wedding day. We were the only ones on the carousel and they blasted the music and it was such a fun moment remembering that night! Great weekend!

Our CSA started up again at the beginning of the month and we’ve been loving all the super fresh veggies in our lives again. With the freshness (and therefore delicious-ness) of such fresh veggies we don’t like to do too much to them in terms of cooking and let the veggies shine through! Last week we got a little pint of snow peas and we knew just what to do with them. These 7 minute snow peas obviously cook quickly and are just so easy to make, too.

Dice about 1/4 of a red pepper and chop 1 or 2 cloves of garlic depending on your taste.

Heat about 1 teaspoon or 2 of oil in a skillet over medium high heat and add garlic when oil has heated up. Once you smell the garlic add the snow peas and red pepper in and cook for about 5 minutes. Season with salt and pepper.

Serve warm. Your snow peas will be slightly crunchy and oh so flavorful – enjoy!

Baby in a fedora!

Her last week of soccer this season and she had a great break away during the scrimmage!

With hotter temps comes the desire to eat lighter food, right? And with that we are always searching for easy, delicious salads to eat for dinner that don’t involve pasta (even though I do love a good pasta salad). There are about a hundred versions of black bean and corn salads on Pinterest and after looking over a lot of them we came up with this 6 Ingredient Black Bean Salad that is so easy, light, and best of all totally delicious and satisfying. And don’t forget it’s only 6 ingredients (I didn’t count olive oil and s&p because those are kitchen staples, right) so you’ll be surprised at how easy to make this is and I’m sure this recipe will be on repeat in your house all summer long.
1 can black beans
1 1/2 cups corn
1 cup grape tomatoes cut into quarters
1/4 – 1/2 cup diced red onion
Juice of 1/2 a lime
Big handful of chopped cilantro
1 Tbsp olive oil
s&p

Once you’re done chopping ingredients, mix everything together. Serve room temp or chilled. Enjoy!

‘Tis the season for picnicking! If you’re like us, you will eat a lot of meals outdoors now that the weather is cooperating – from outdoor concerts, to picnic lunches, to playground snacks. One thing we love for these sort of occasions is a cheese board. And a well constructed cheese board is one of my very favorite things. In my opinion, the perfect cheese board should have at least 2 varieties of cheese (really 3 is best but that depends on how many people are dining), a salty meat, fruit, crackers and/or bread. Some people like olives too but since I’m the only olive-lover in our house I don’t put those on the cheese board.

I used to throw some things together on our large Boos Board until a friend of mine gave me a slate cheese board for Christmas and ooooh, how I had always wanted one! If you’ve ever been to a party at our house you know I’m pro labeling appetizers when we put them out so no one is guessing what anything is. So what is better than to put your cheese right on a board that you can write all over! The cheese board in these photos was for a naptime lunch for my husband and I. We had an herbed soft cheese and a semi-hard cheese with fig jam to top. I included a flavorful cracker and a more plain cracker for the herbed cheese. A tiny bit of salty salami and a generous pile of fresh strawberries.

By the way, if you get one, your slate board will probably come with chalk to use but I prefer one of these chalk board makers for a sharper look.

Happy cheese-ing!

Wearing a flamingo outfit to the zoo!

Capping off his birthday weekend with ice cream!

To cap off M’s first birthday (see his smiley face birthday party here), we brought some party decor and smiley face cookies to our usual Friday Baby Bootcamp class and celebrated with his tiny friends. We had a couple of balloons, some bubbles, a few stickers, and best of all – cookies! It would’ve been easiest to just decorate round cookies with icing to make a smiley face, but since we were at a park and celebrating with very young friends I thought it best to leave off the messy, sugary frosting, here’s how I made them instead…

I made my usual Martha Stewart sugar cookie recipe and cut into circles using a 3″ round cookie cutter.

Using a straw I cut eyes into the face and used a paring knife to make a smile.

Then I filled the eyes with chocolate sprinkles and pressed the sprinkles into the mouth shape and baked as directed.

Cutest smiley face cookies I’ve ever seen!

He’s 1! Happy birthday to our sweet, smiley, happy, curious, determined baby M. We love you so, so very much!!!!!!!!!!!!! Ps. Fastest year of my life!

Her brother’s birthday is almost as exciting as her own, here she is decorating the house in balloons. And yes, I got her a pink one to celebrate her being a great big sister.

Here is a little tale about coffee and eventually some directions on how to make your own cold brew coffee at home. I started drinking coffee after college and always liked it with skim milk and sugar. Skim milk because, well, less calories, sugar because coffee with skim milk is not very good so perhaps I should’ve started with cream in the first place. Anyway…story goes, I met a cute boy, we spent lots of time together and I started using his coffee creamer in my coffee. YUM! I was addicted. Then we started eating better and realized our beloved flavored, sugary creamer needed to go. And since then (like 5 years ago?) I’ve been at a loss with my coffee in the morning. For a while I was using a “whole” creamer made with just sugar and milk but then this past winter when I was doing a fitness contest with my local Baby Bootcamp franchise I decided it was time to eliminate sugar from my coffee (among other things) completely. But I hated coffee with just milk. So I tried almond milk (blech), coconut milk (yuck), and a bunch of other tricks (coconut oil, have you done this? Not a fan) until finally I landed on some cold brew coffee.

Cold brew coffee is simply mixing your coffee grounds with water and letting them sit for at least 12 to 24 hours in the refrigerator – hence “brewing” in the cold temperature. Cold brew coffee is naturally sweeter because of the lower acidity than regular brewed coffee. In truth, I dilute my cold brew with some of my daughter’s 1% milk (instead of my skim) so it’s a touch creamier and so, so delicious. And ps. cold brew has a slightly higher amount of caffeine, too!

To make you need: water, coarsely ground coffee beans, 2 pitchers (one for brewing and one for filtering), and a filter (we use a metal filter from an old coffee maker). Simply mix water and coffee grounds in a 4:1 ratio. You have to think ahead (sometimes we forget) because you want to leave the mixture in the fridge for about 12-24 hours (the longer you leave it the stronger it will be), but it’s worth it! Once you’re ready to drink, filter entire mixture through your filter. Dilute with water or milk.

Enjoy with your breakfast. Have you tried cold brew?
