I was poking around the internet for some wardrobe inspiration when I came across this adorable button down from Madewell. Just cute, right? An over-sized button down I could wear with leggings (I love these) or my new faux leather leggings (I bought these).

But $80, really? I decided to take matters into my own hands and simply make my own. It was pretty simple and once the design of the heart was done it was like 20 minutes ladies. I’ll save you the trouble of designing the striped heart in Photoshop like I did and you can save the image below if you want to make your own shirt, too. It’s sized to print on an 8 1/2 x 11 sheet of iron-on paper, trim the excess paper before you iron on for best results.

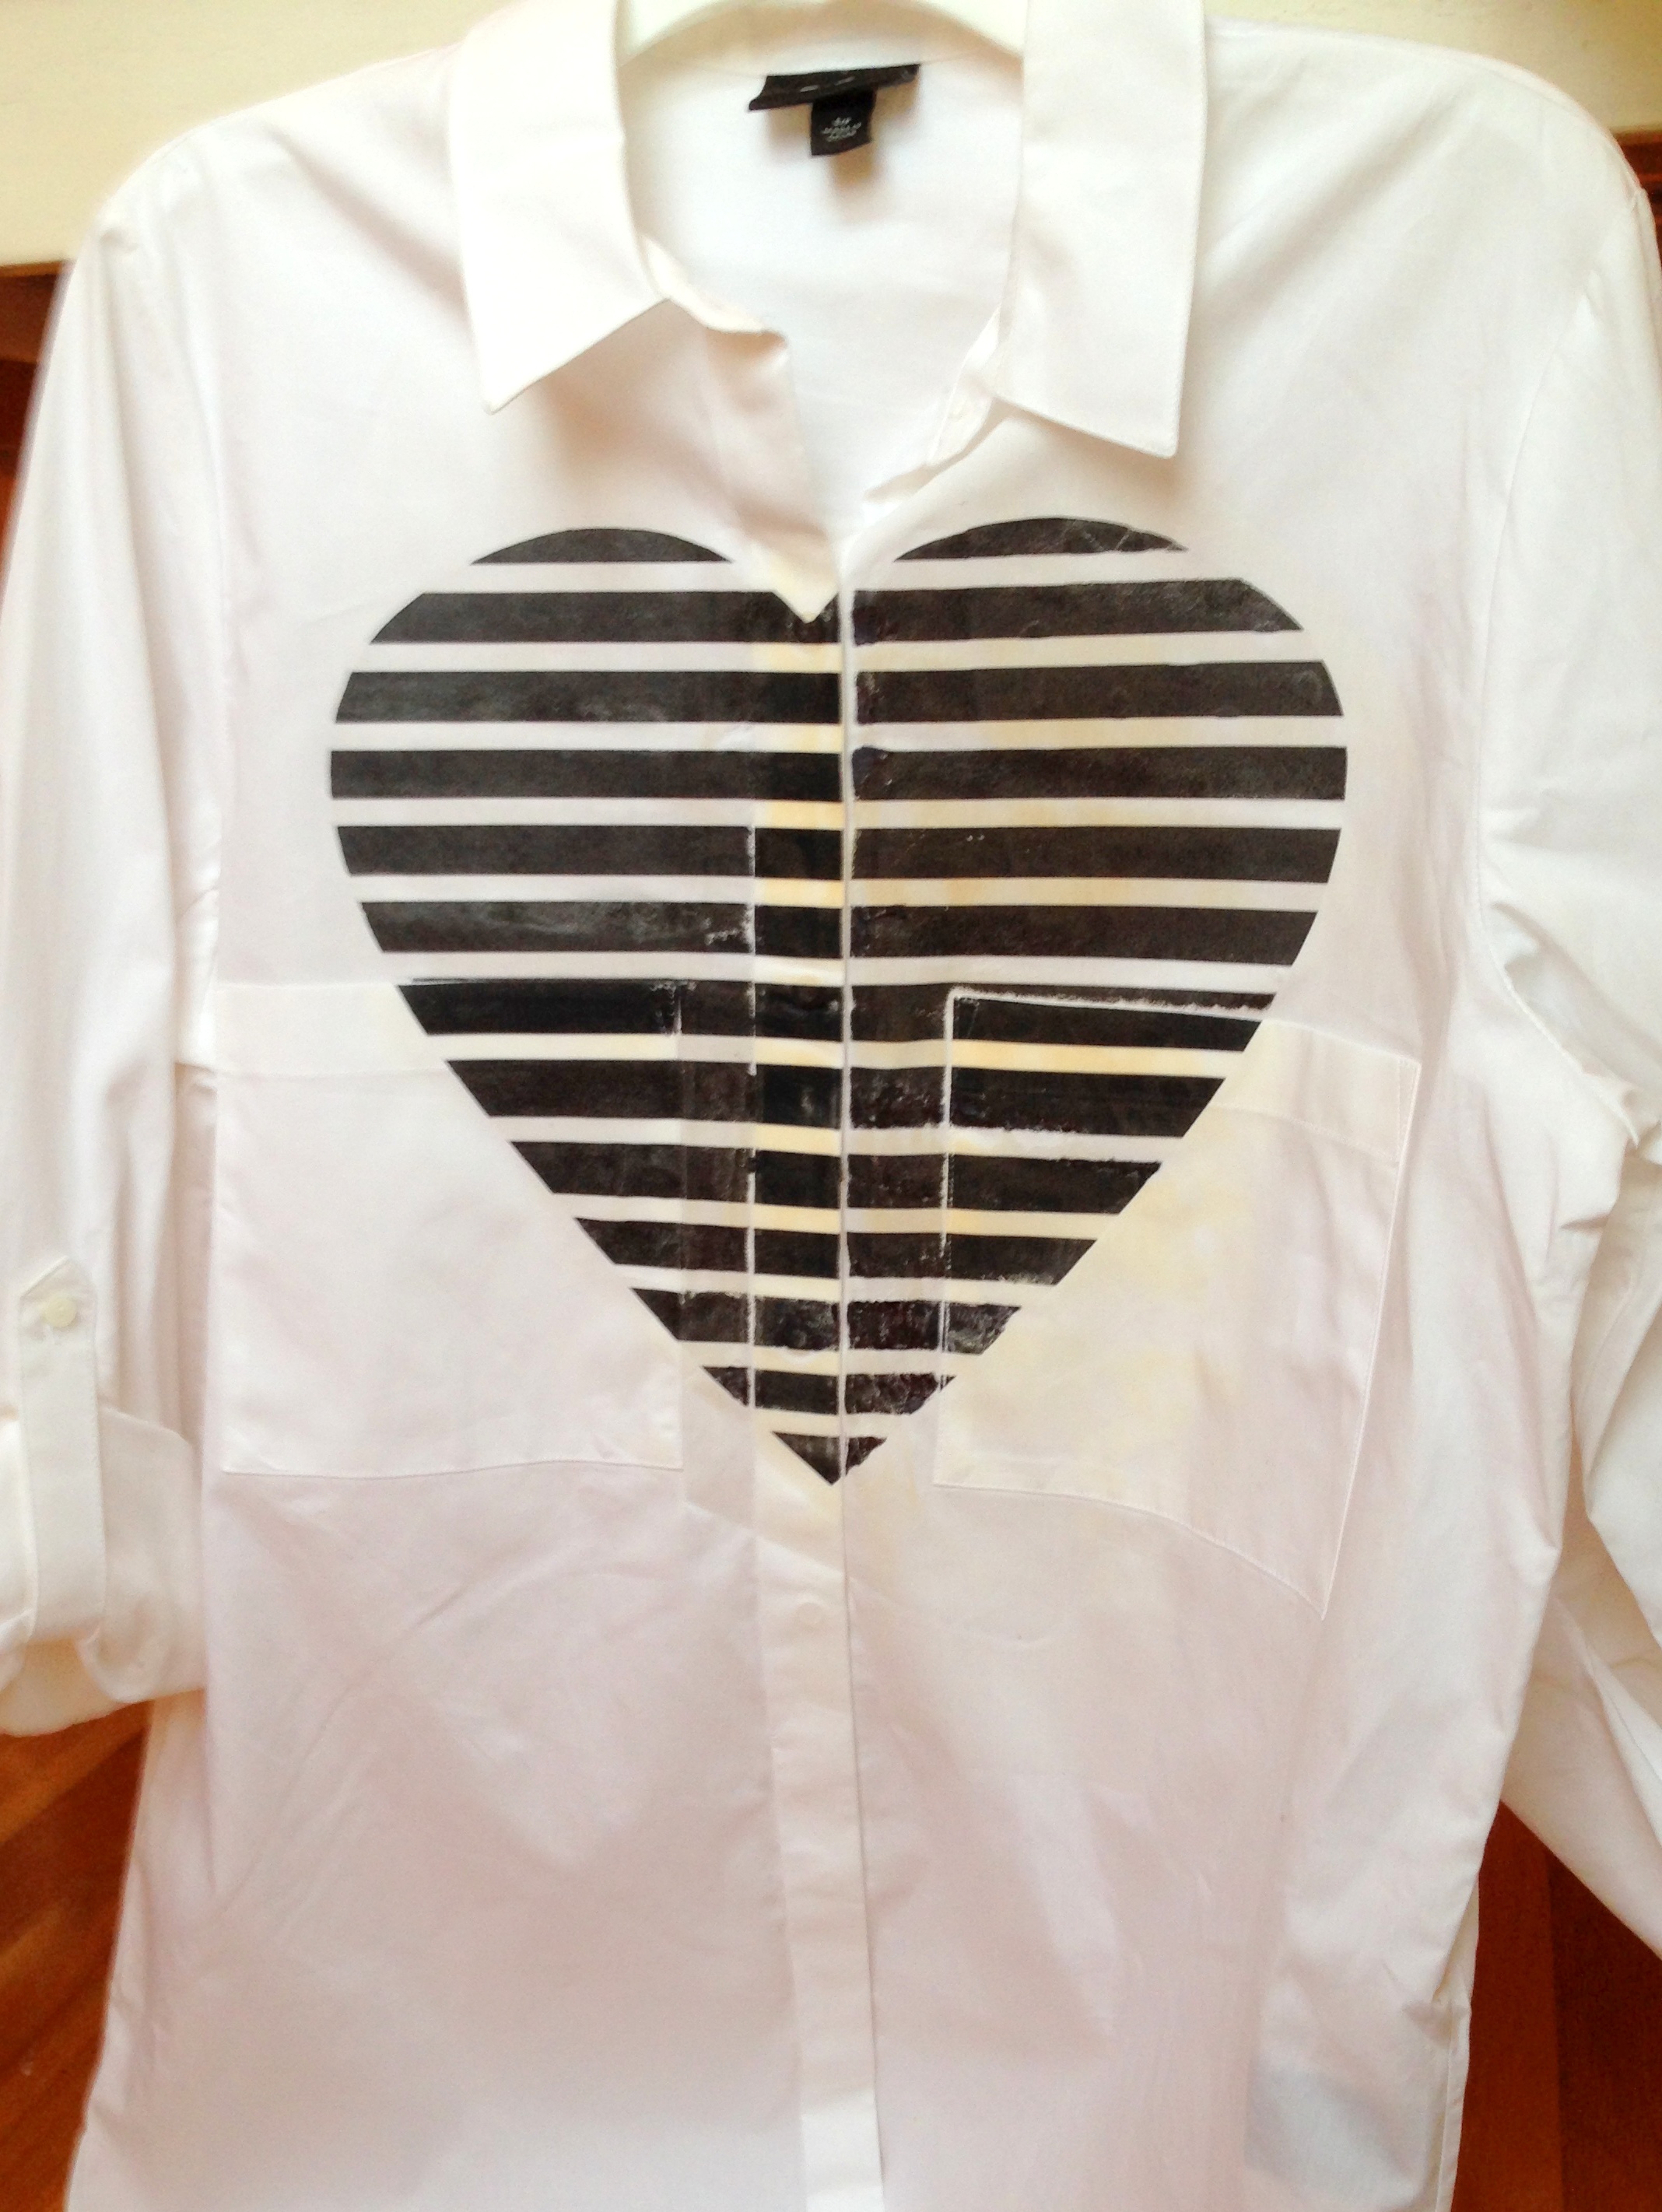
Just print on iron-on paper, iron onto an over-sized button down shirt (I used this one from Target), and voila! You have your own Madewell Heartbeat Oversized Button-down for a fraction of the price.

A few notes:
– Be careful of your buttons, it’s not easy to iron-on an image over buttons. I got a shirt with fabric covering the buttons and pockets on the front so I knew I’d have a ton of breaks in the black of the heart so it would be a more rustic look, if you will. If you’re looking for a cleaner look, I suggest removing the buttons before ironing on the image and then re-sweing them back on.
– I used Sharpie (see above image) to fill in a few “too-white” areas, just remember to put a cloth or thick paper in between the front and back of the shirt!
– Don’t do this while distracted! I was distracted by baby M being cute and therefore burned my shirt a little, bummer! Only hold your iron on your shirt for 20 seconds max.

And because my husband hates taking this sort of photo as much as I hate posing for them – I have a mirror selfie for you showing how I’d style up this shirt. Let me know if you make one!

Such a good idea!! You crafty creative lady you!
LikeLike
What a great idea! Love how it came out. I want one!!
LikeLike