
Don’t you love washi tape? I am sort of obsessed. If you don’t know, washi tape is a kind of Japanese paper that is similar to masking tape where it is removable from most surfaces. I’ve had this four-pack of Martha Stewart brand washi tape sitting in my craft room (slash home office) for quite some time and I finally figured out a nice way to use it. A friend of mine’s birthday is today so I decided to make her a DIY washi tape birthday card!
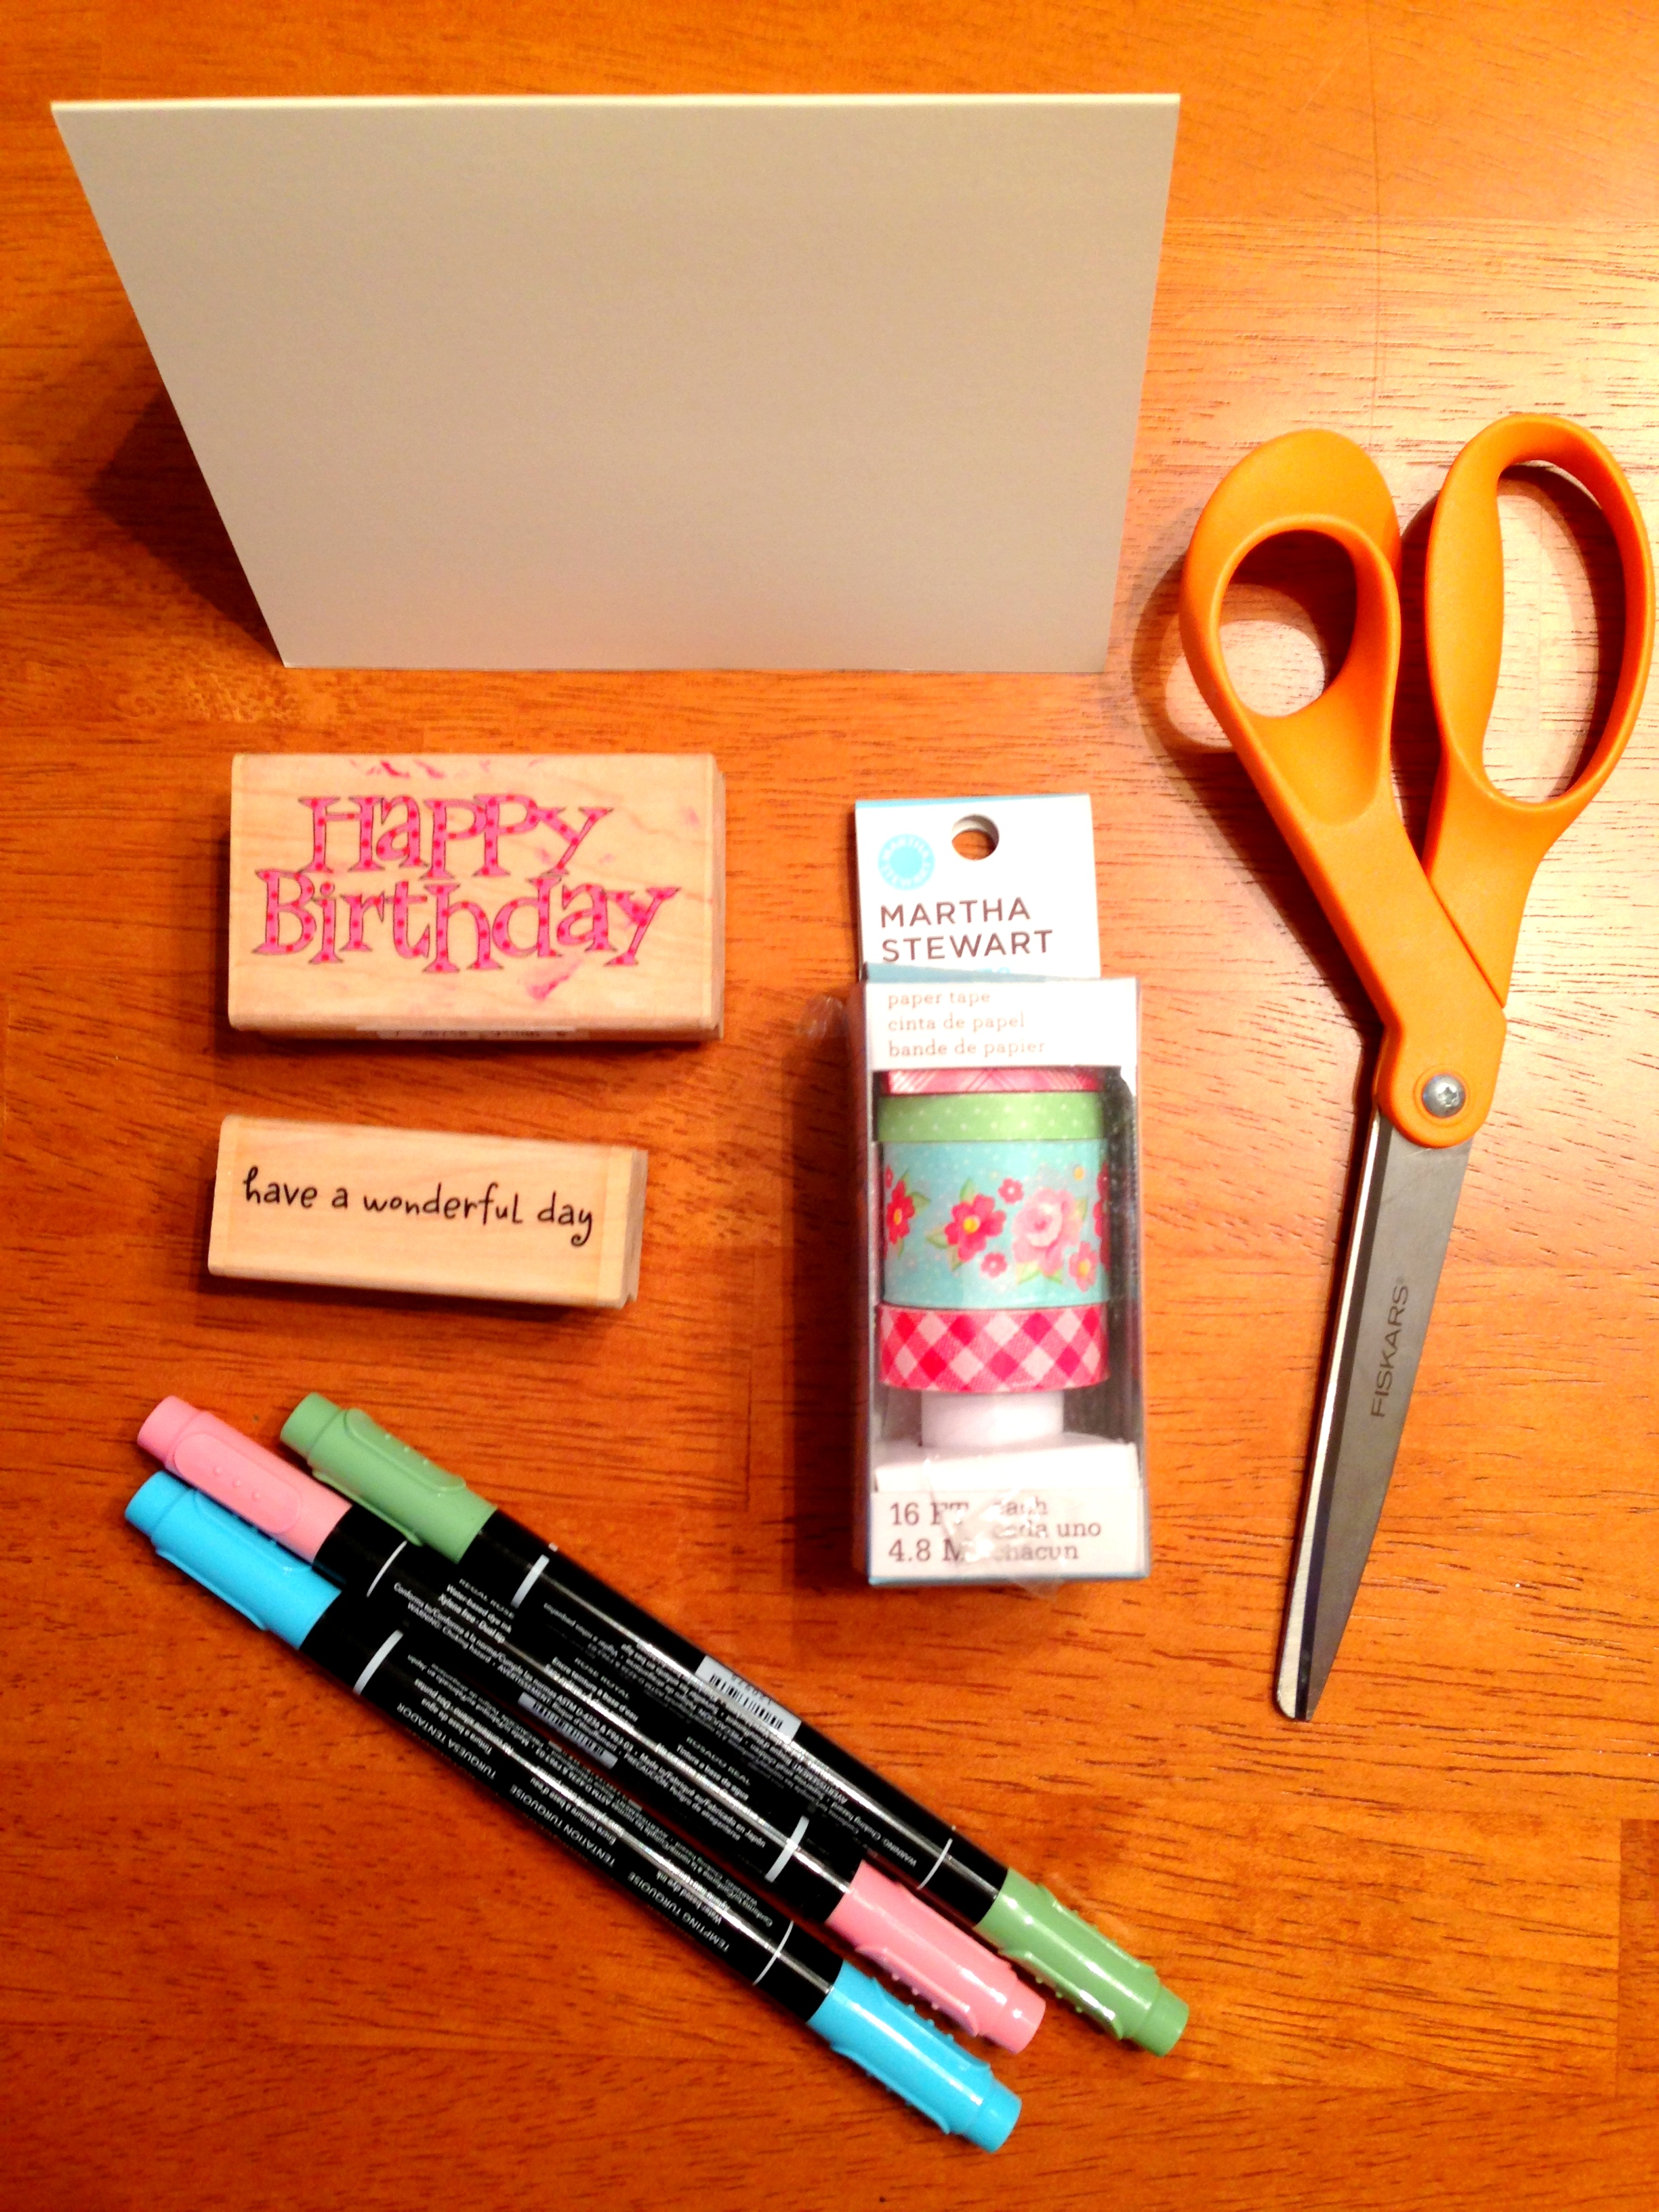
All you’ll need is: a blank card, washi tape, sharp scissors, and stamps/markers/ink pads for messaging.
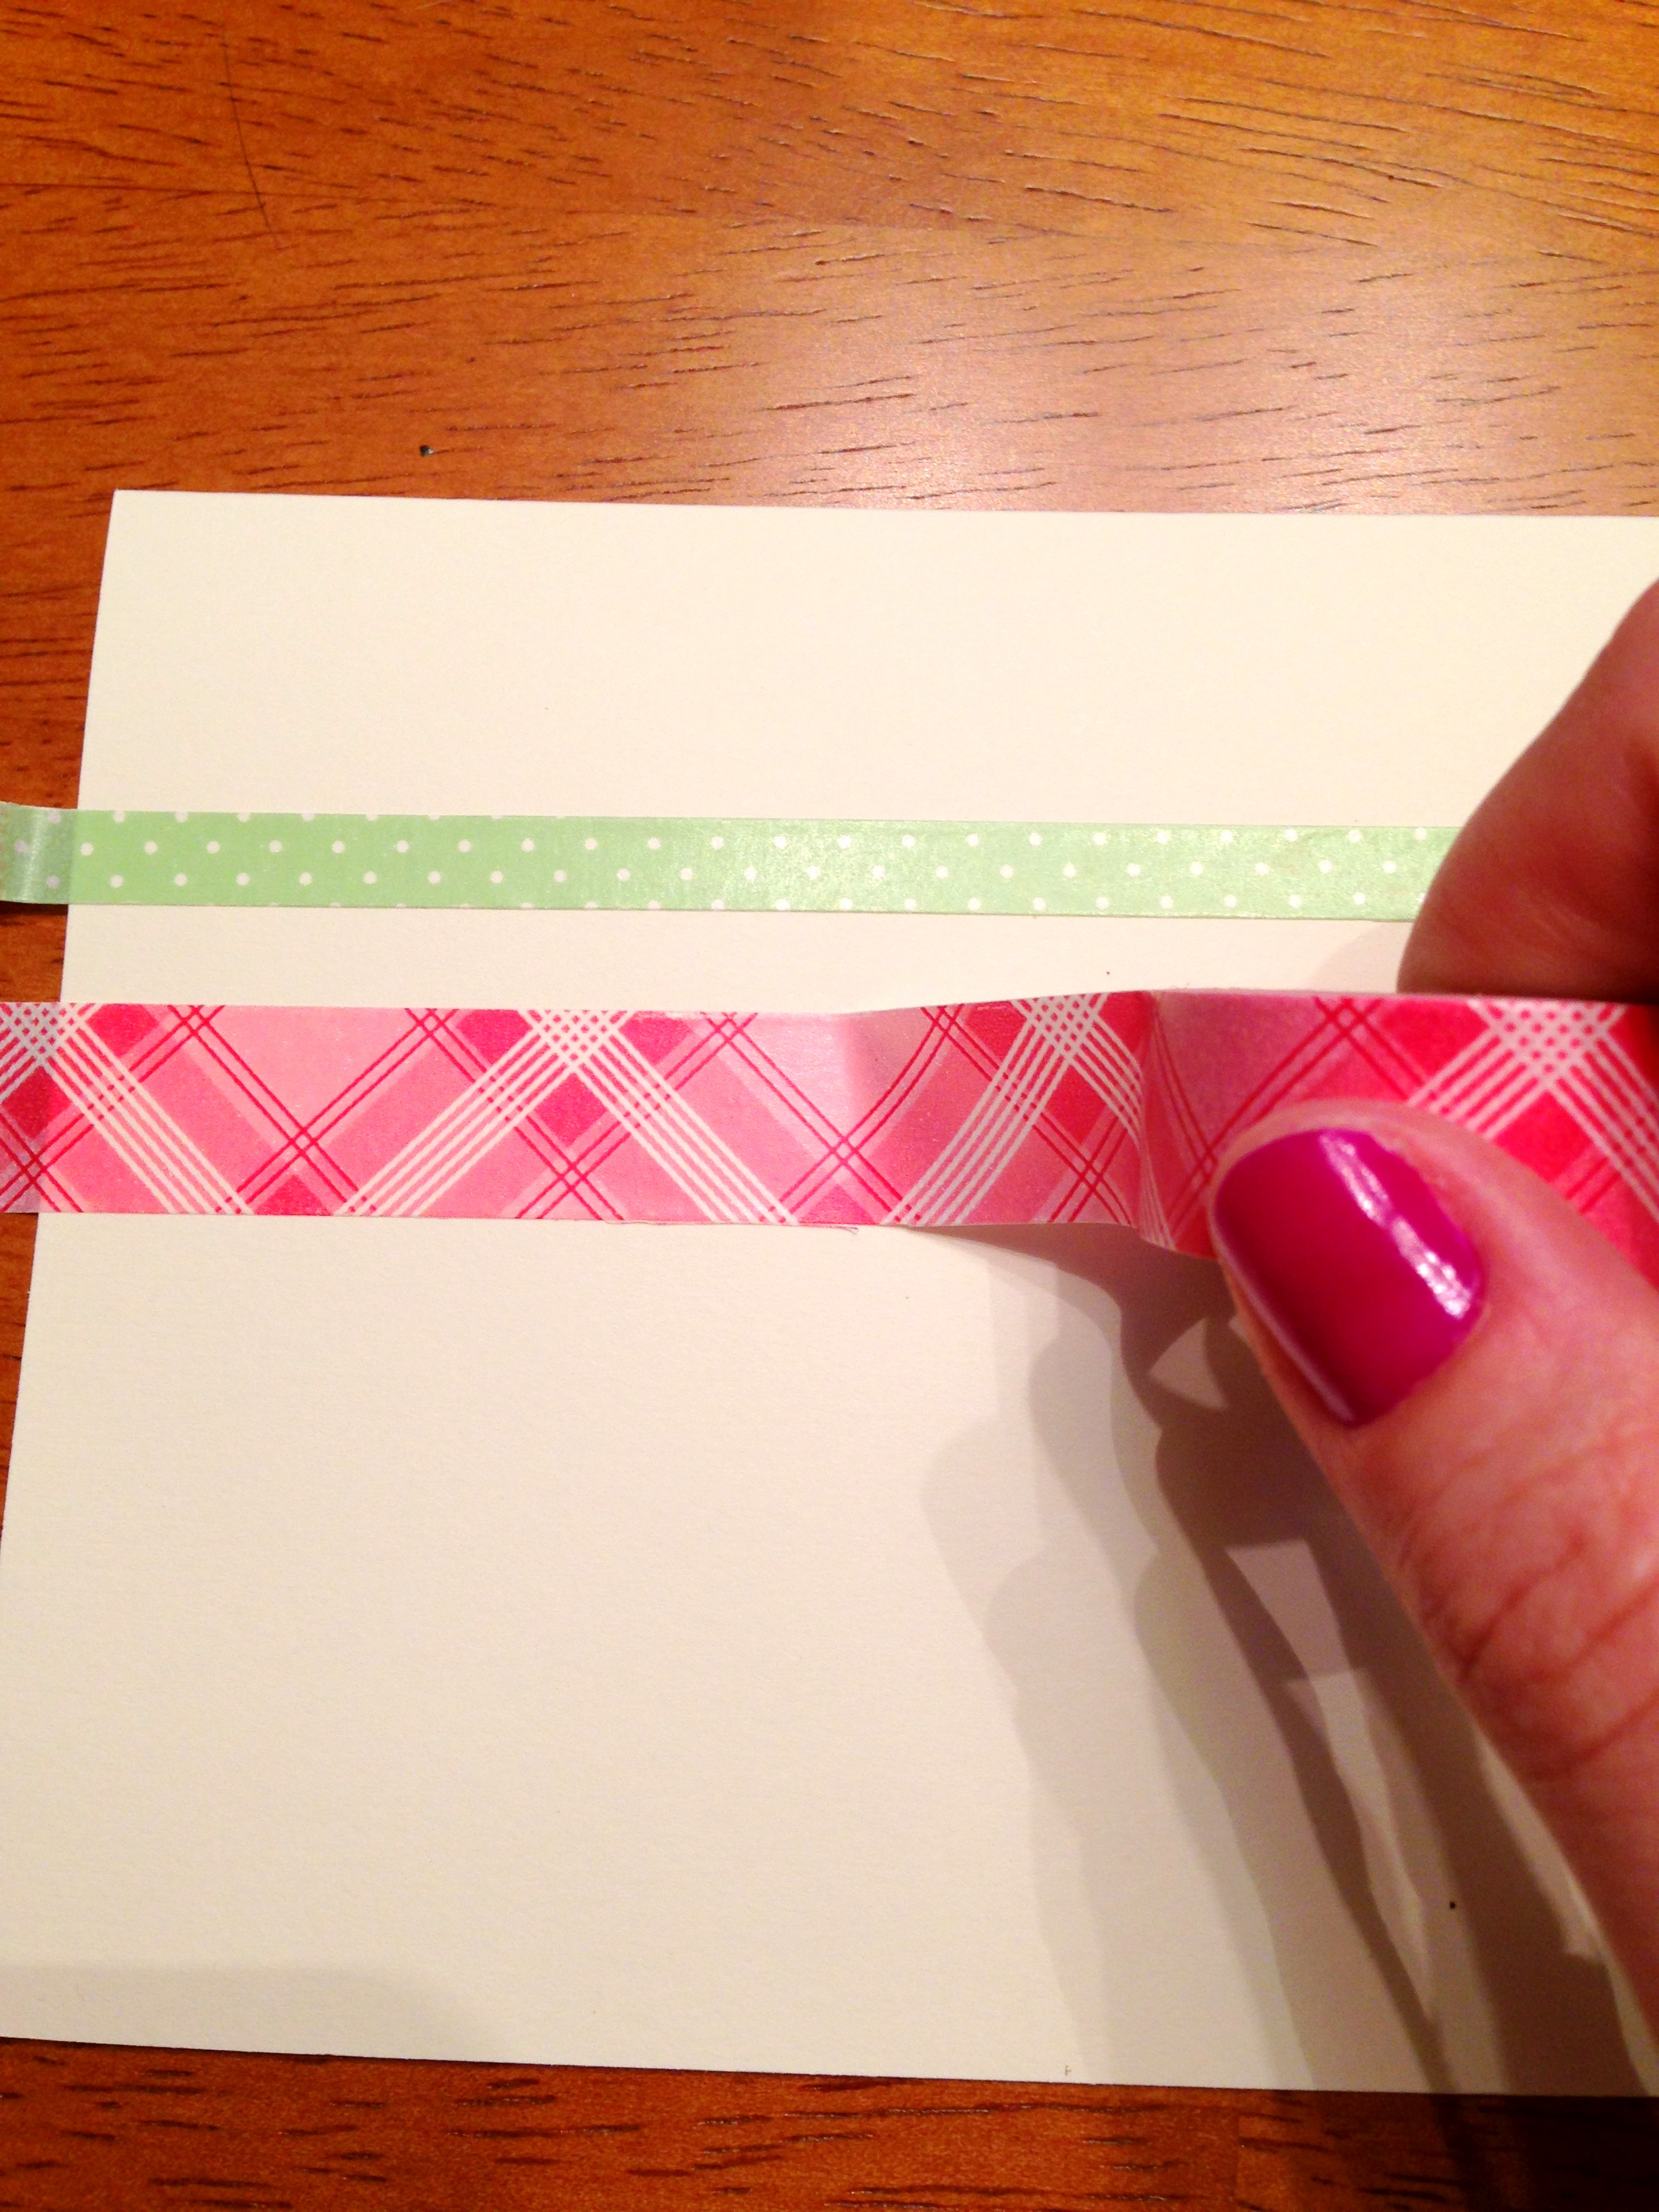
First, stick on your first 2 stripes of washi tape horizontally on the card, leaving about 1/4-inch in between them.

Then, layer on your 2 stripes of washi tape vertically on the card. You want to weave the vertical tape – place it over the first horizontal tape, under the next. Do the opposite with the second piece of vertical washi tape.

Once your tape is on, rip your ends off.

Then flip the card over and trim with scissors so the tape is flush with the edge of the card.

Stamp, color, write your message – however you want to do it. For this card, I used a bubble letter “Happy Birthday” in one color and colored it in with another color.

Don’t forget to add a strip of washi tape to the envelope to coordinate. This card is SO cute.

LOVED IT. Thank you! =)
LikeLike
I’m glad! Happy Birthday!!!
LikeLike