I decided to share step-by-step instructions on how I put together a basic homemade thank you card. With the right tools, high-quality paper, and creativity you can easily start making cards too!
Materials:

Folded card w/ envelope
Thank You stamp
Ink Pad
Embossing powder
Ribbon
Colorful paper that coordinates with the ribbon
Double sided tape
Glitter paint pen
Paper cutter
Puffy tape
Heat embossing tool
 Paint the cover of the card with a glitter paint pen. This gives an added touch to a plain white card.
Heat embossing tool
Paint the cover of the card with a glitter paint pen. This gives an added touch to a plain white card.
Then stamp your thank you stamp on plain white card stock, sprinkle with embossing powder, tap off excess, and heat with embossing heat tool. Let dry.

Using your paper cutter, cut embossed, stamped paper to desired size.

Tape stamped paper with double sided tape (I use 2 pieces for extra hold) to one piece of colorful paper. Then cut to desired size, depending on how much of a frame you want.
 Then repeat this step using the second piece of colorful paper, which will add depth and more color to your card.
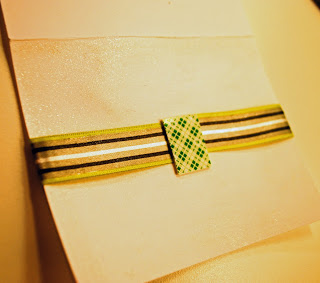 Wrap ribbon around your glittered plain card and secure with a small piece of puffy tape. Make sure the puffy tape secures the 2 ends of the ribbon to each other as well as the card.
 Place stamped piece, centered onto the puffy tape to finish the card.
 And voila – homemade thank you card!