There’s nothing cuter than a little girl wearing a big, colorful bow in her hair, right? But after a while they get a little pricey (especially when she loses them all the time, ahem!). And I bet you never guessed how easy it is to make your own DIY ribbon hair bows. I partnered with my friends at Offray Ribbon to bring you a tutorial on making your own hair bows, here’s how:

You will need: about 2 feet of ribbon per bow, a needle and thread, a hair clip, sharp scissors, and a glue gun and glue (not pictured because my glue gun is not attractive).

Create the bow by folding the ribbon over itself, making 2 loops with the ribbon and sizing the bow to your liking. Then, stick your threaded needle through the center.

Fold the ribbon in the center like an accordion to get the right look and wrap the thread around and tie in back to hold in place.
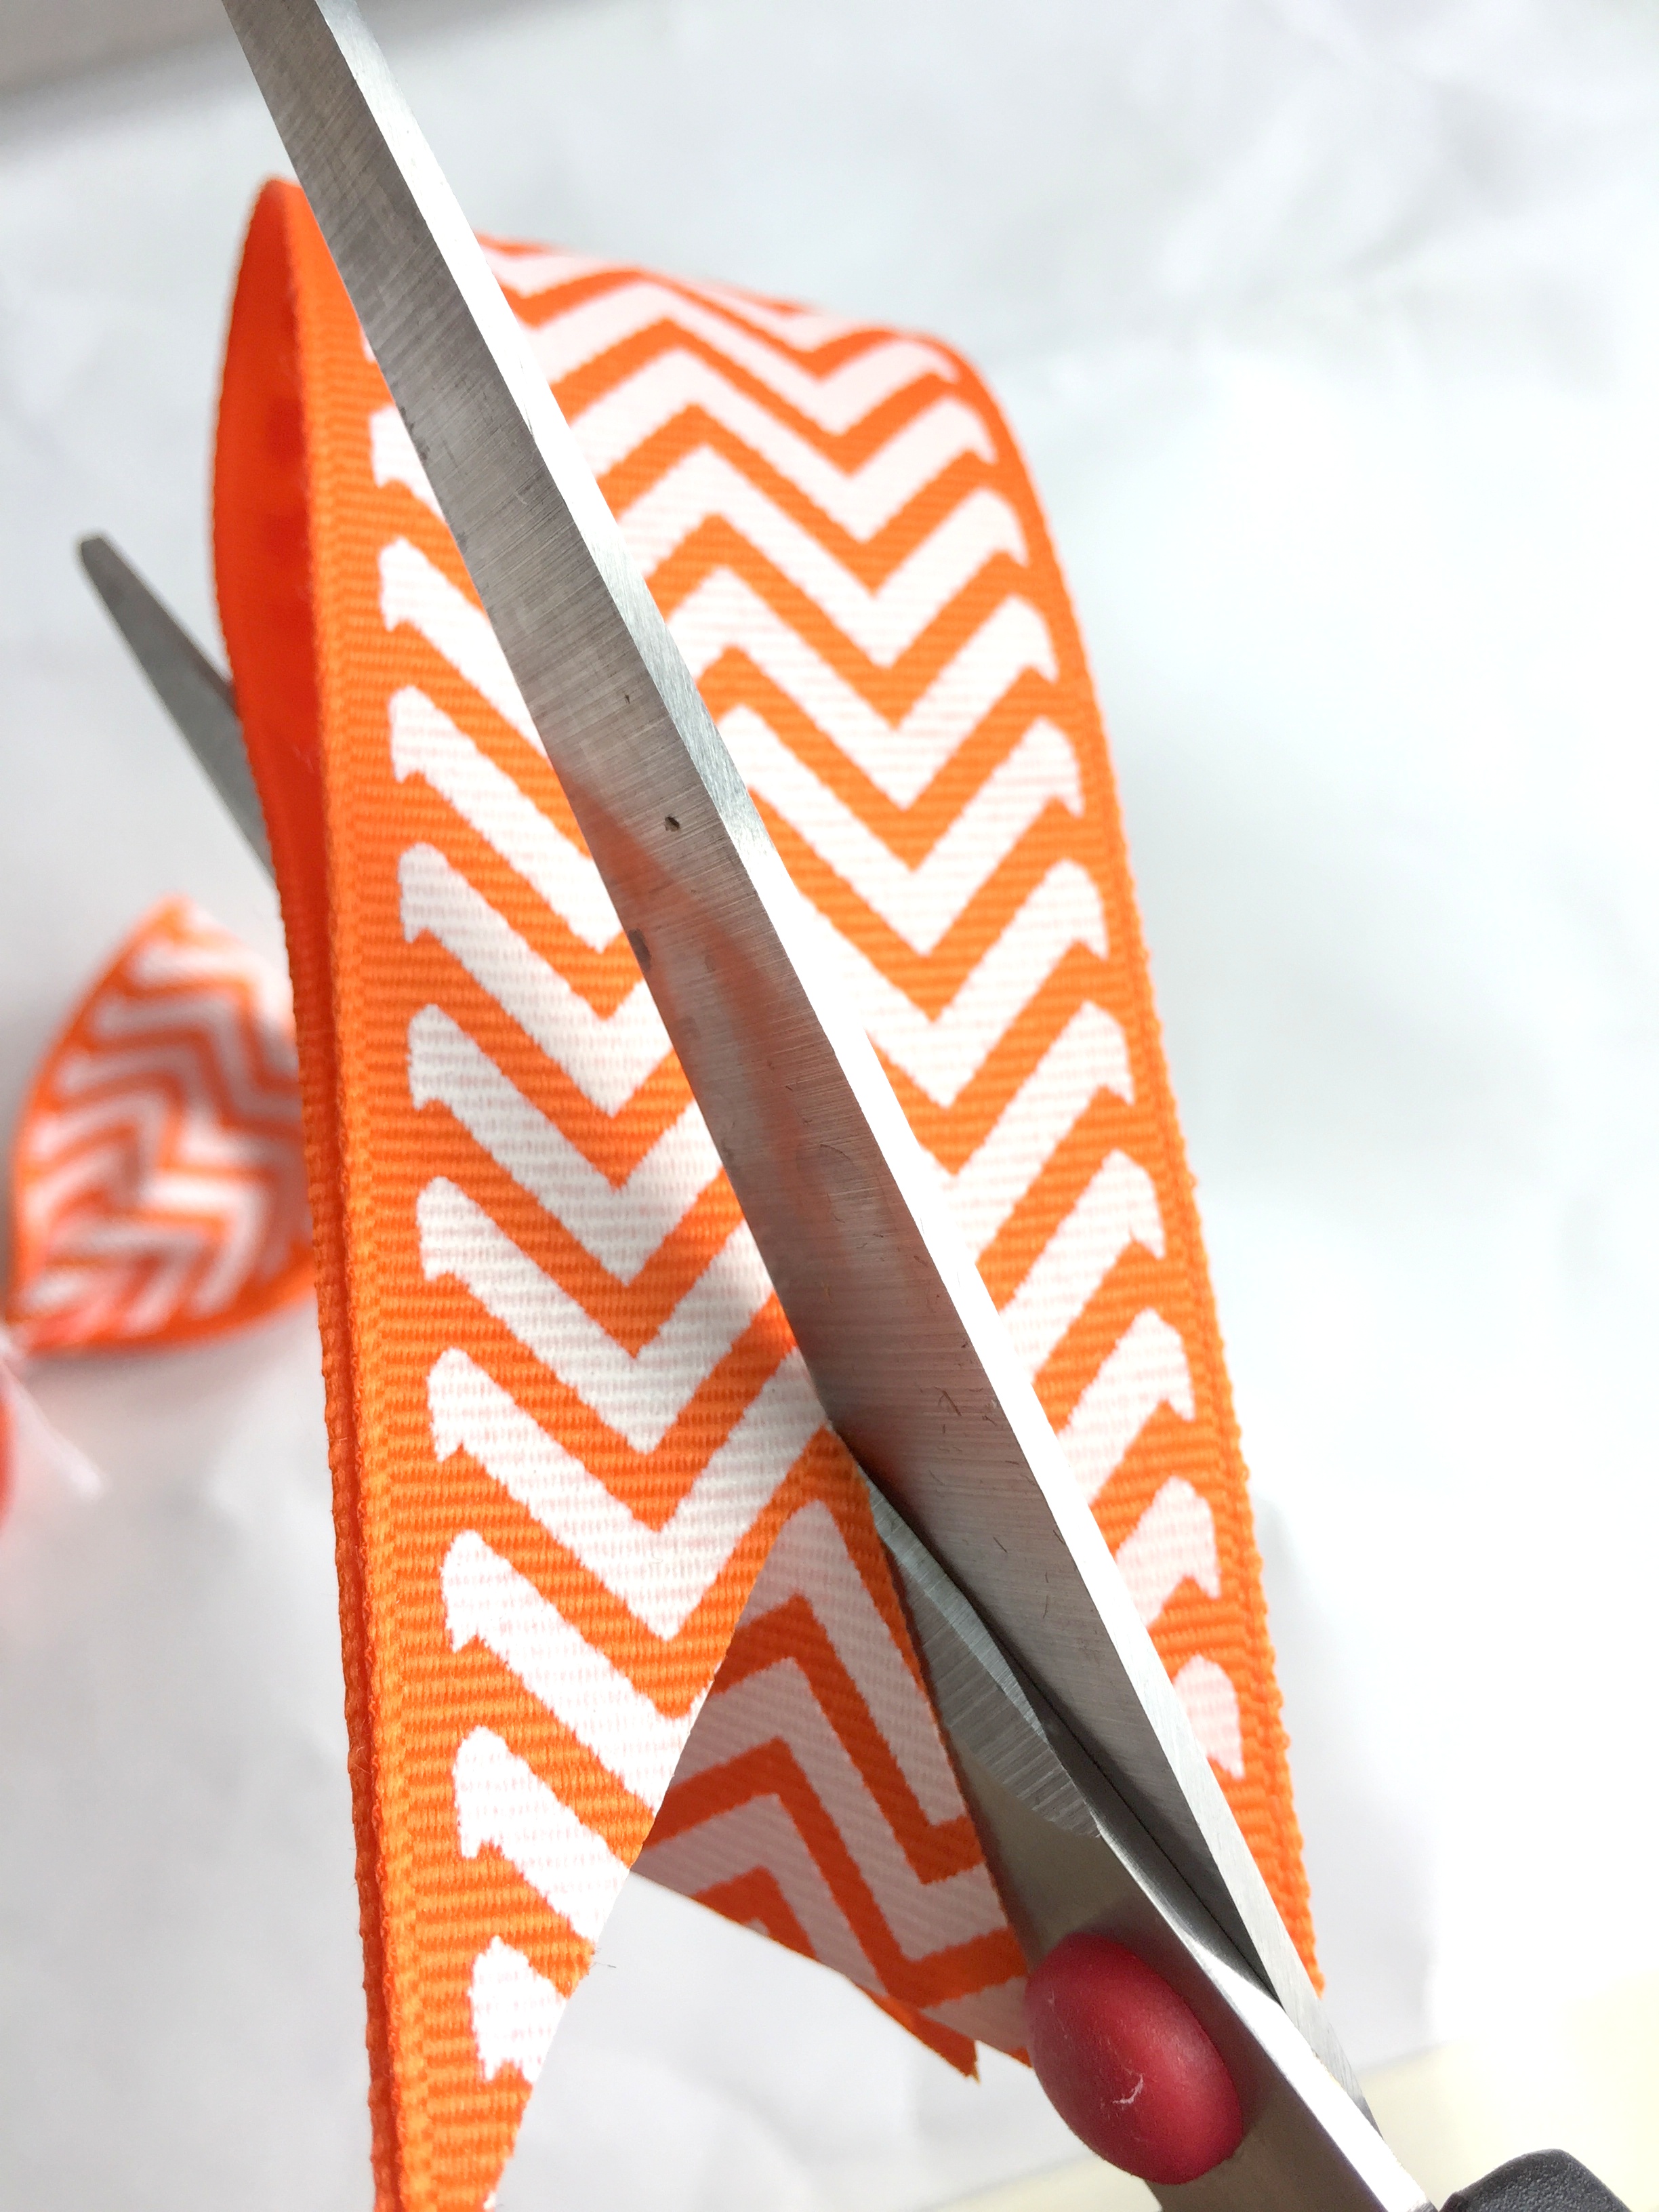
Next, make the tail piece of the bow. Cut the ends for the tail look and again stick your threaded needle through the center and wrap around the ribbon.
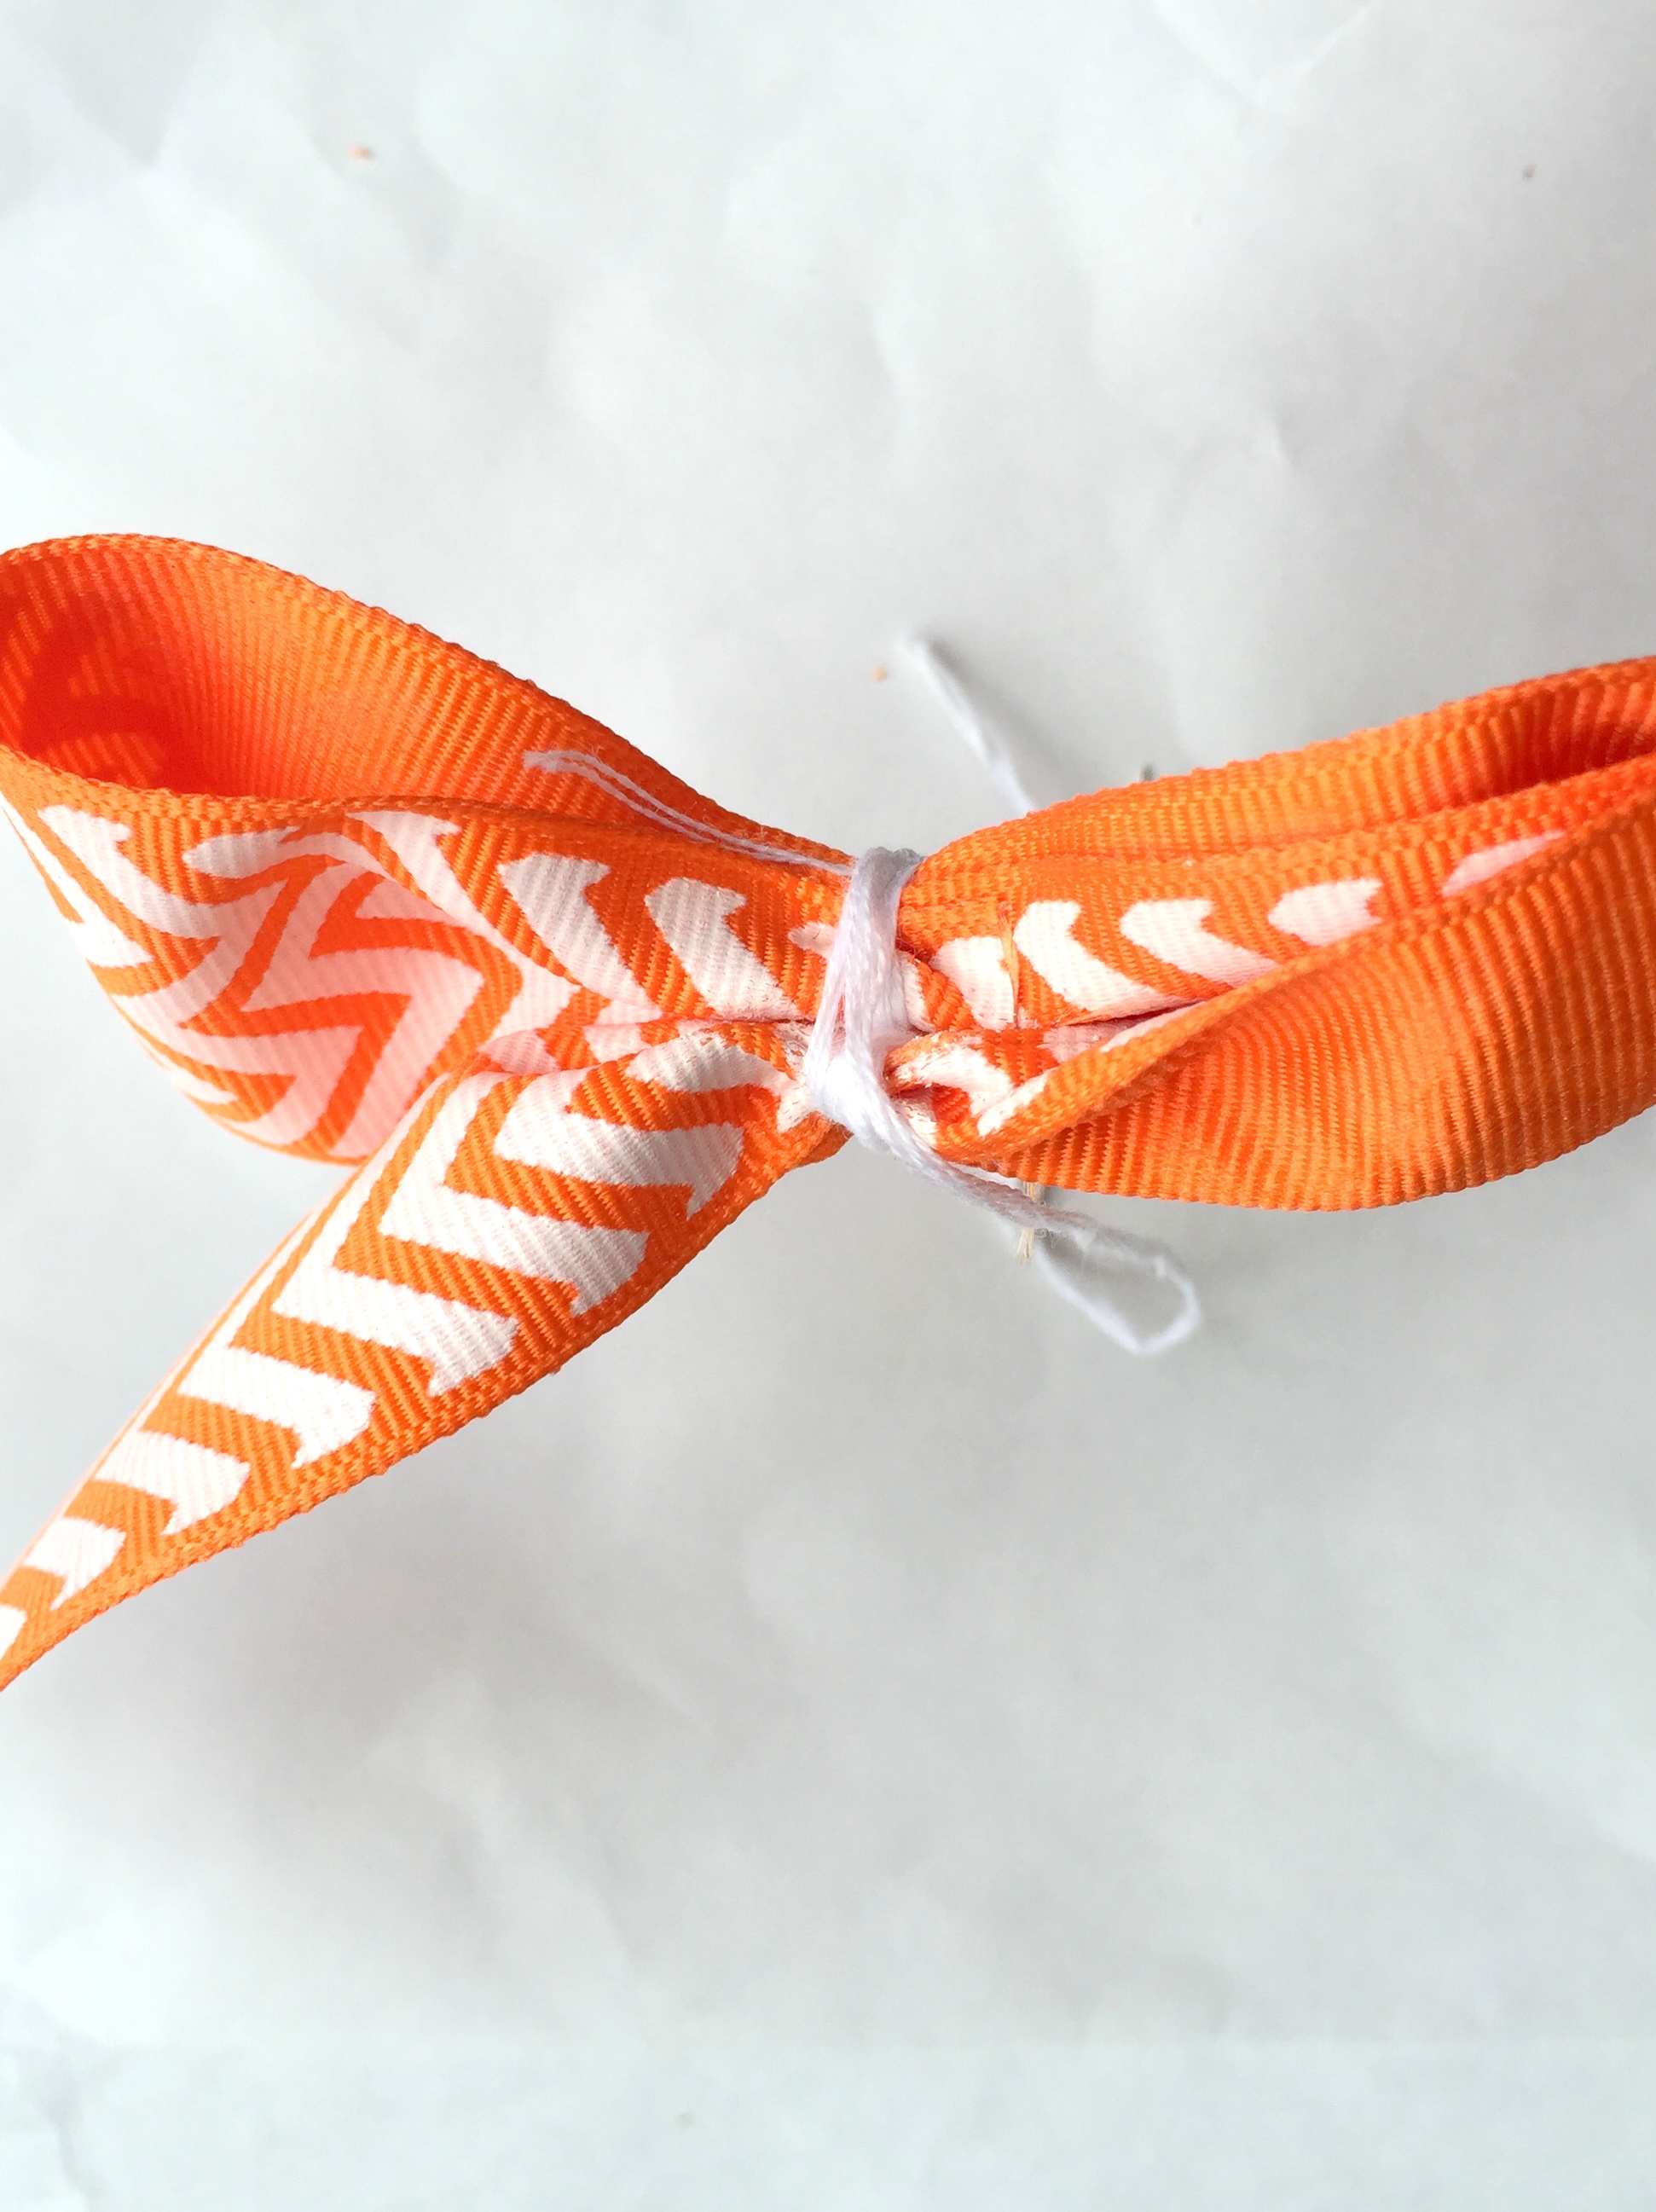
Use the thread to tie the tail ribbon to the bow ribbon.

Next, sew your hair clip to the back of the bow. I used these snap hair clips because my daughter has thick hair and these stay in well.
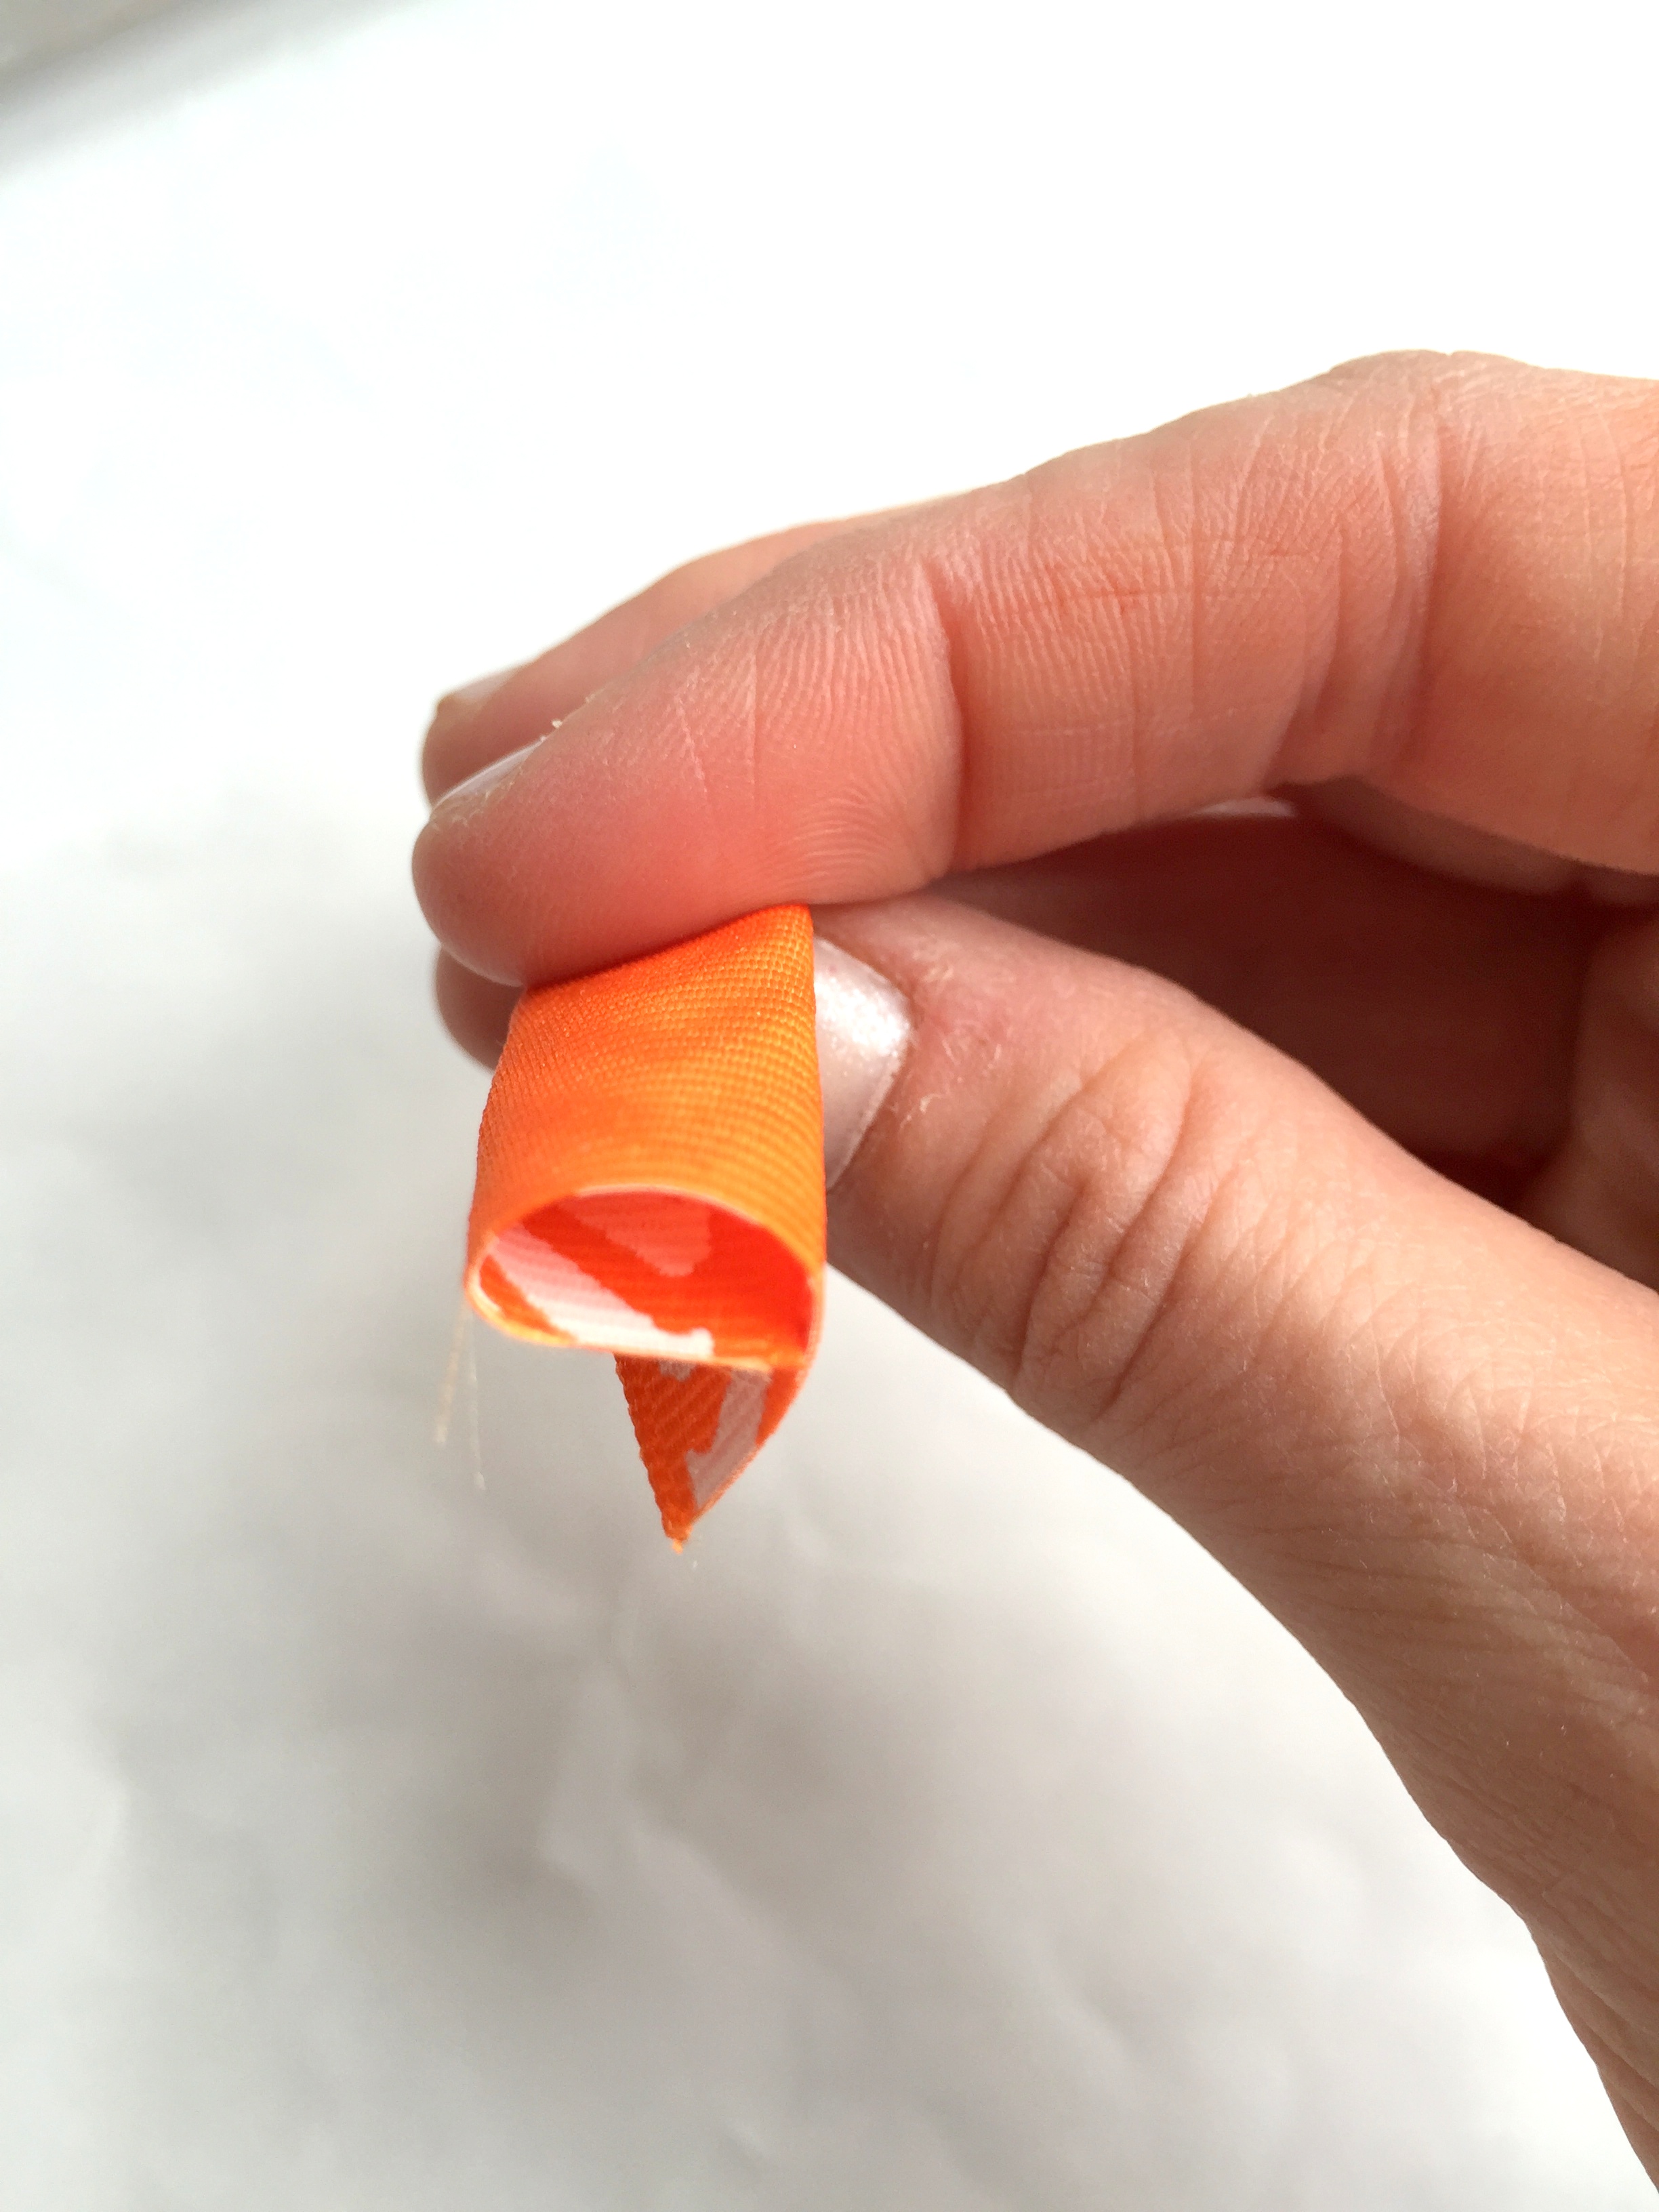
And finally, to finish the project you want to wrap ribbon around the center of the bow. Take coordinating ribbon (I used the plain orange reverse side of the chevron orange ribbon) and fold into thirds (or fold in half, depending on the width of the ribbon). Use your glue gun to secure in the back.
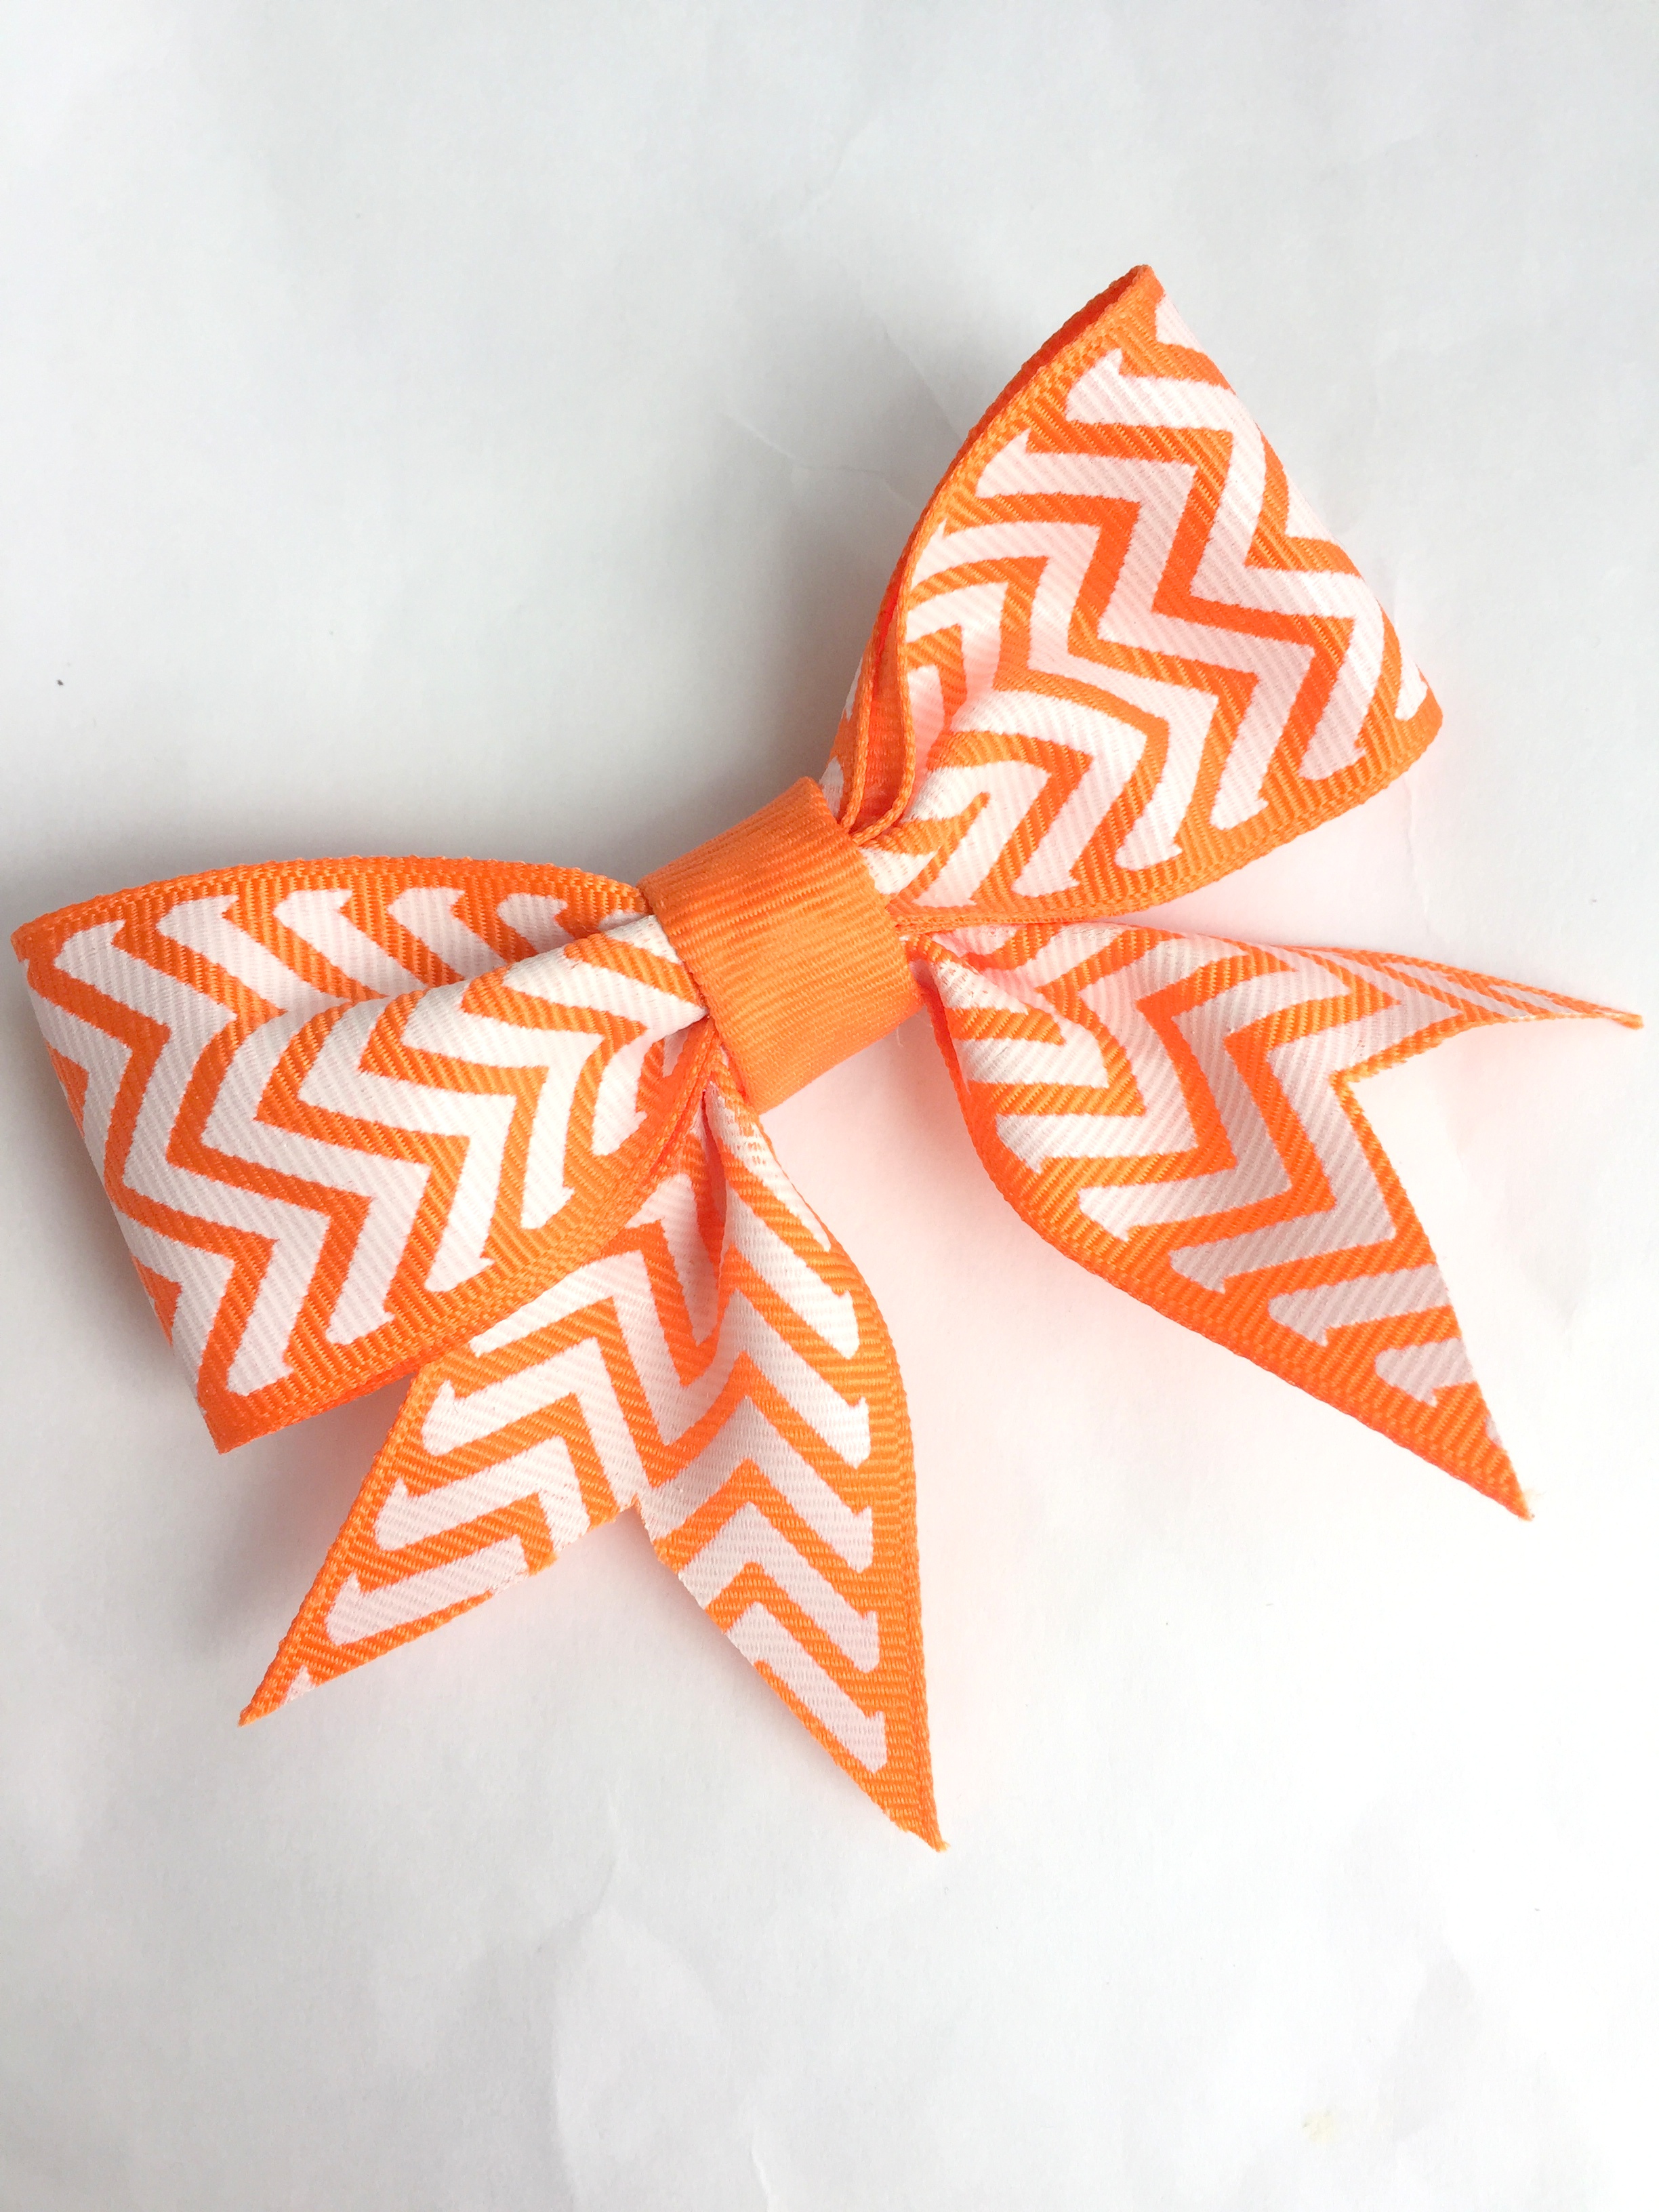
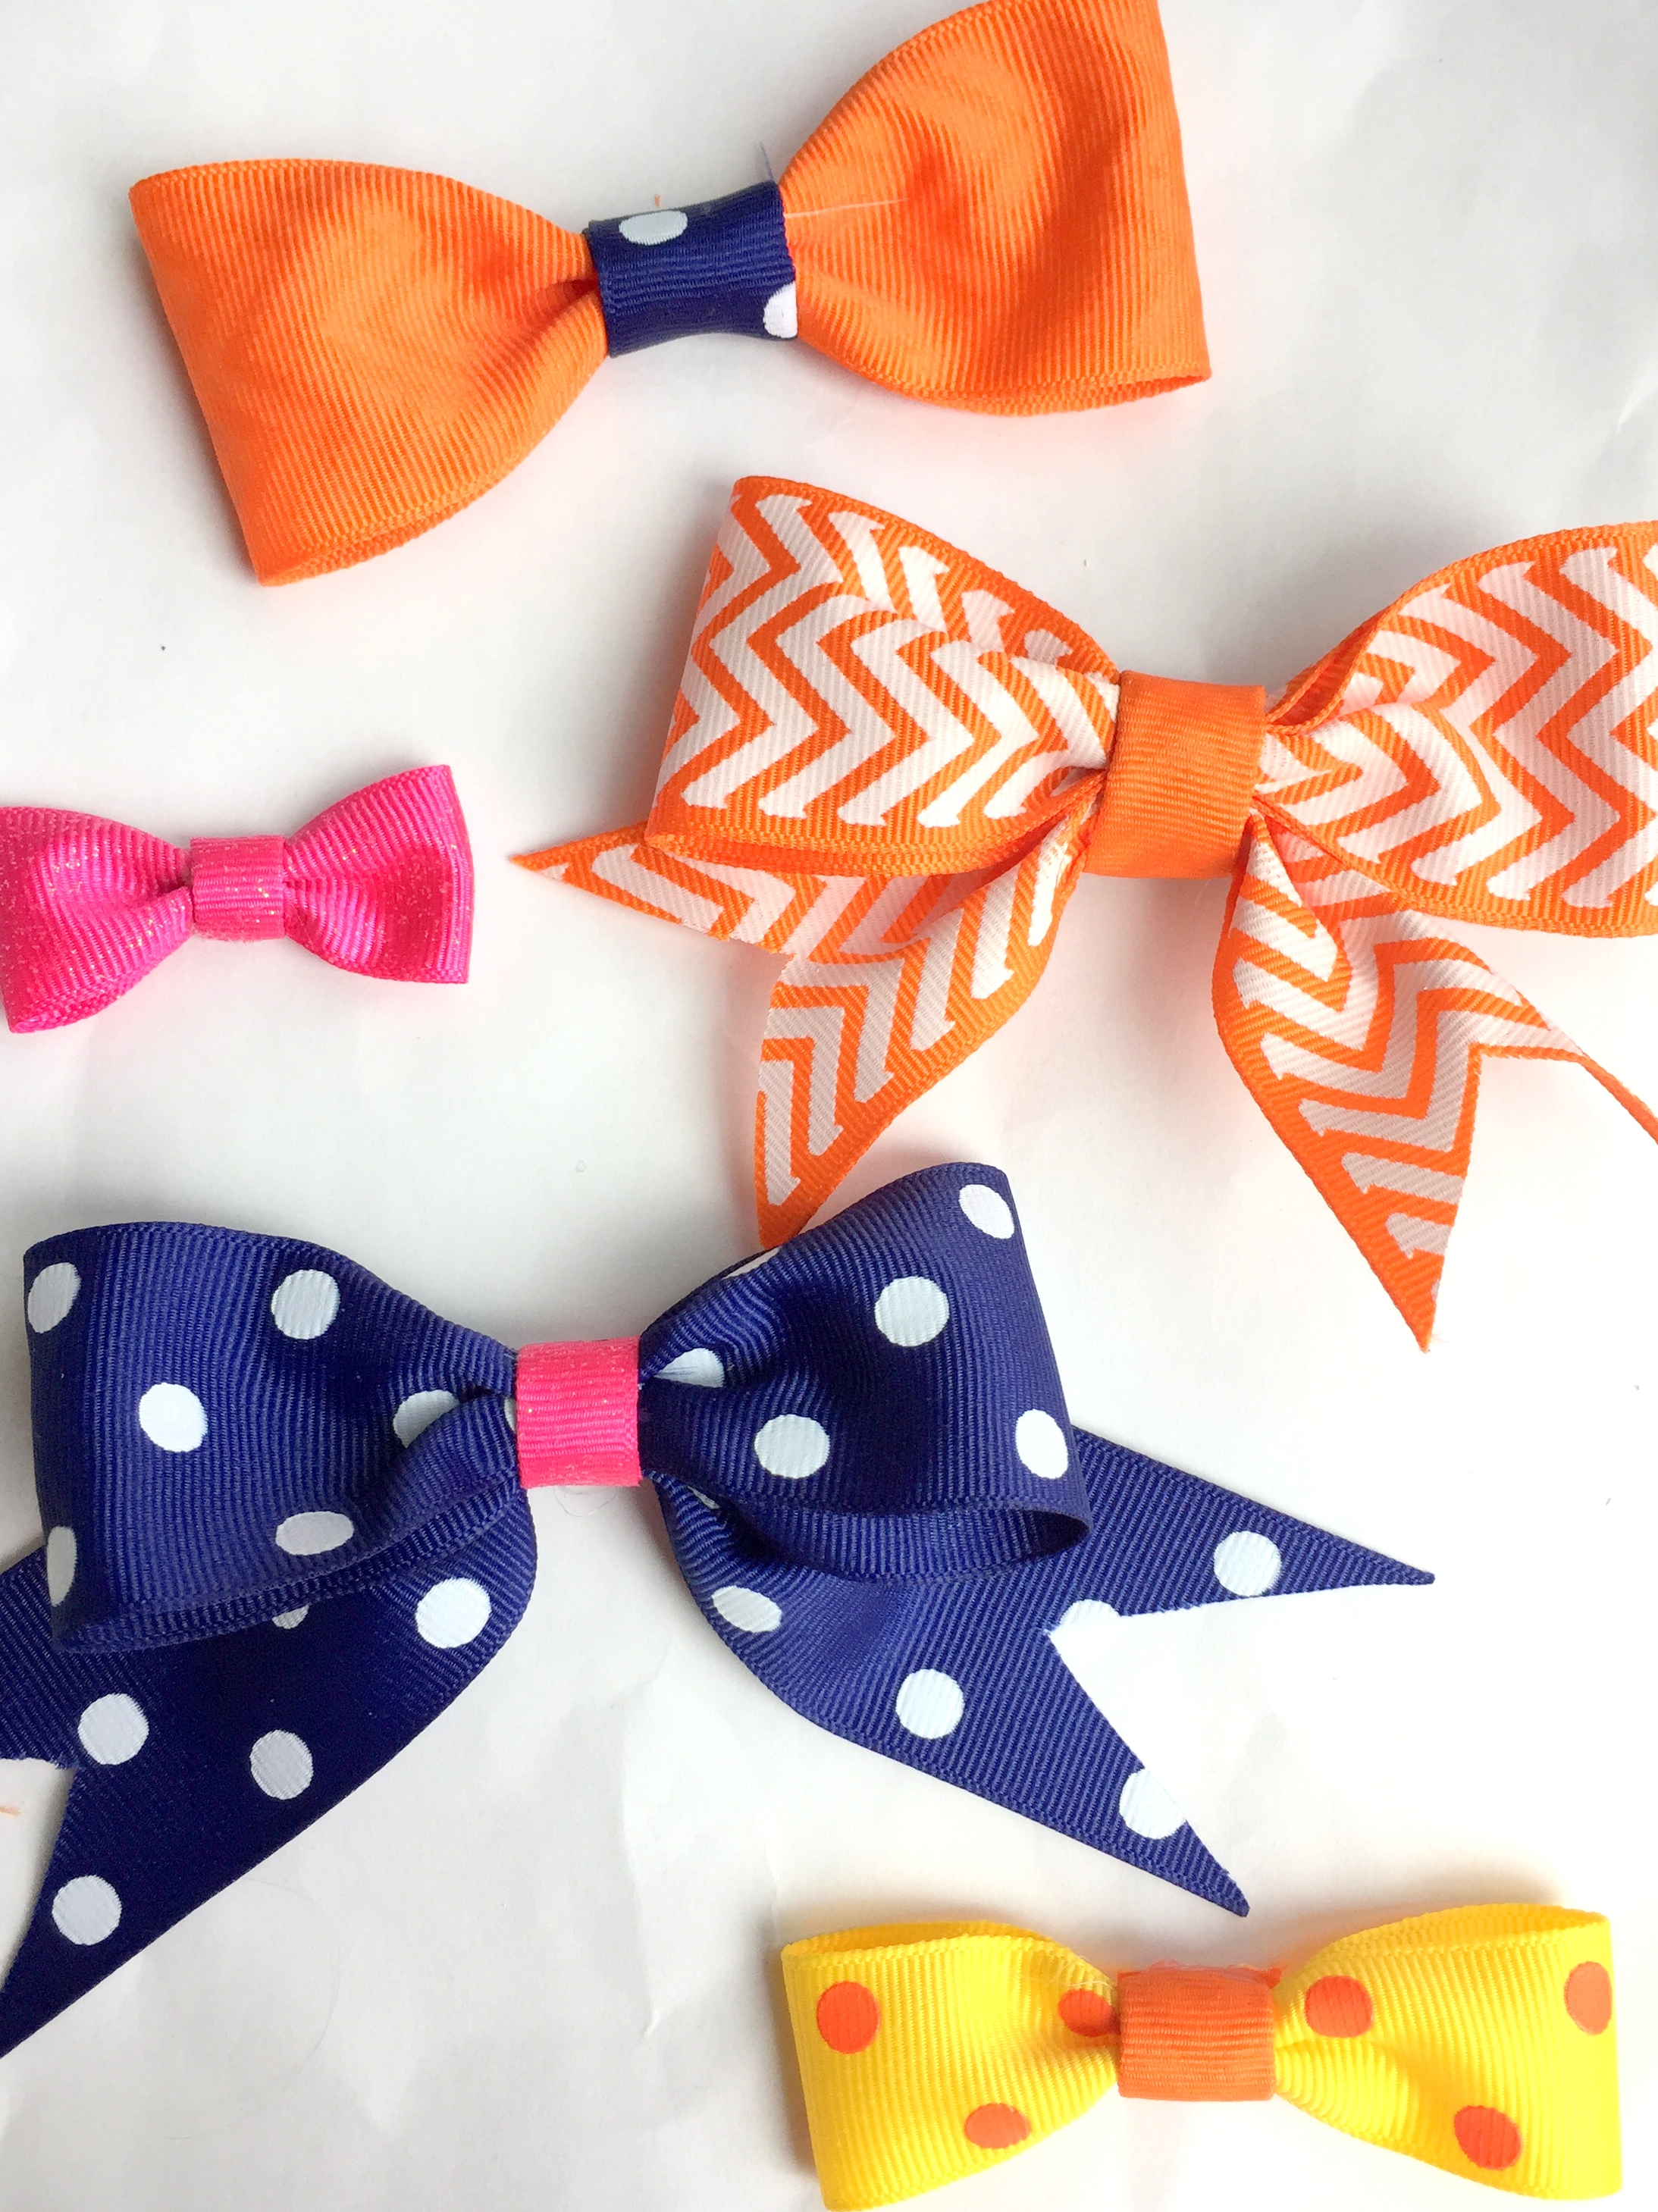
Adorable, right?
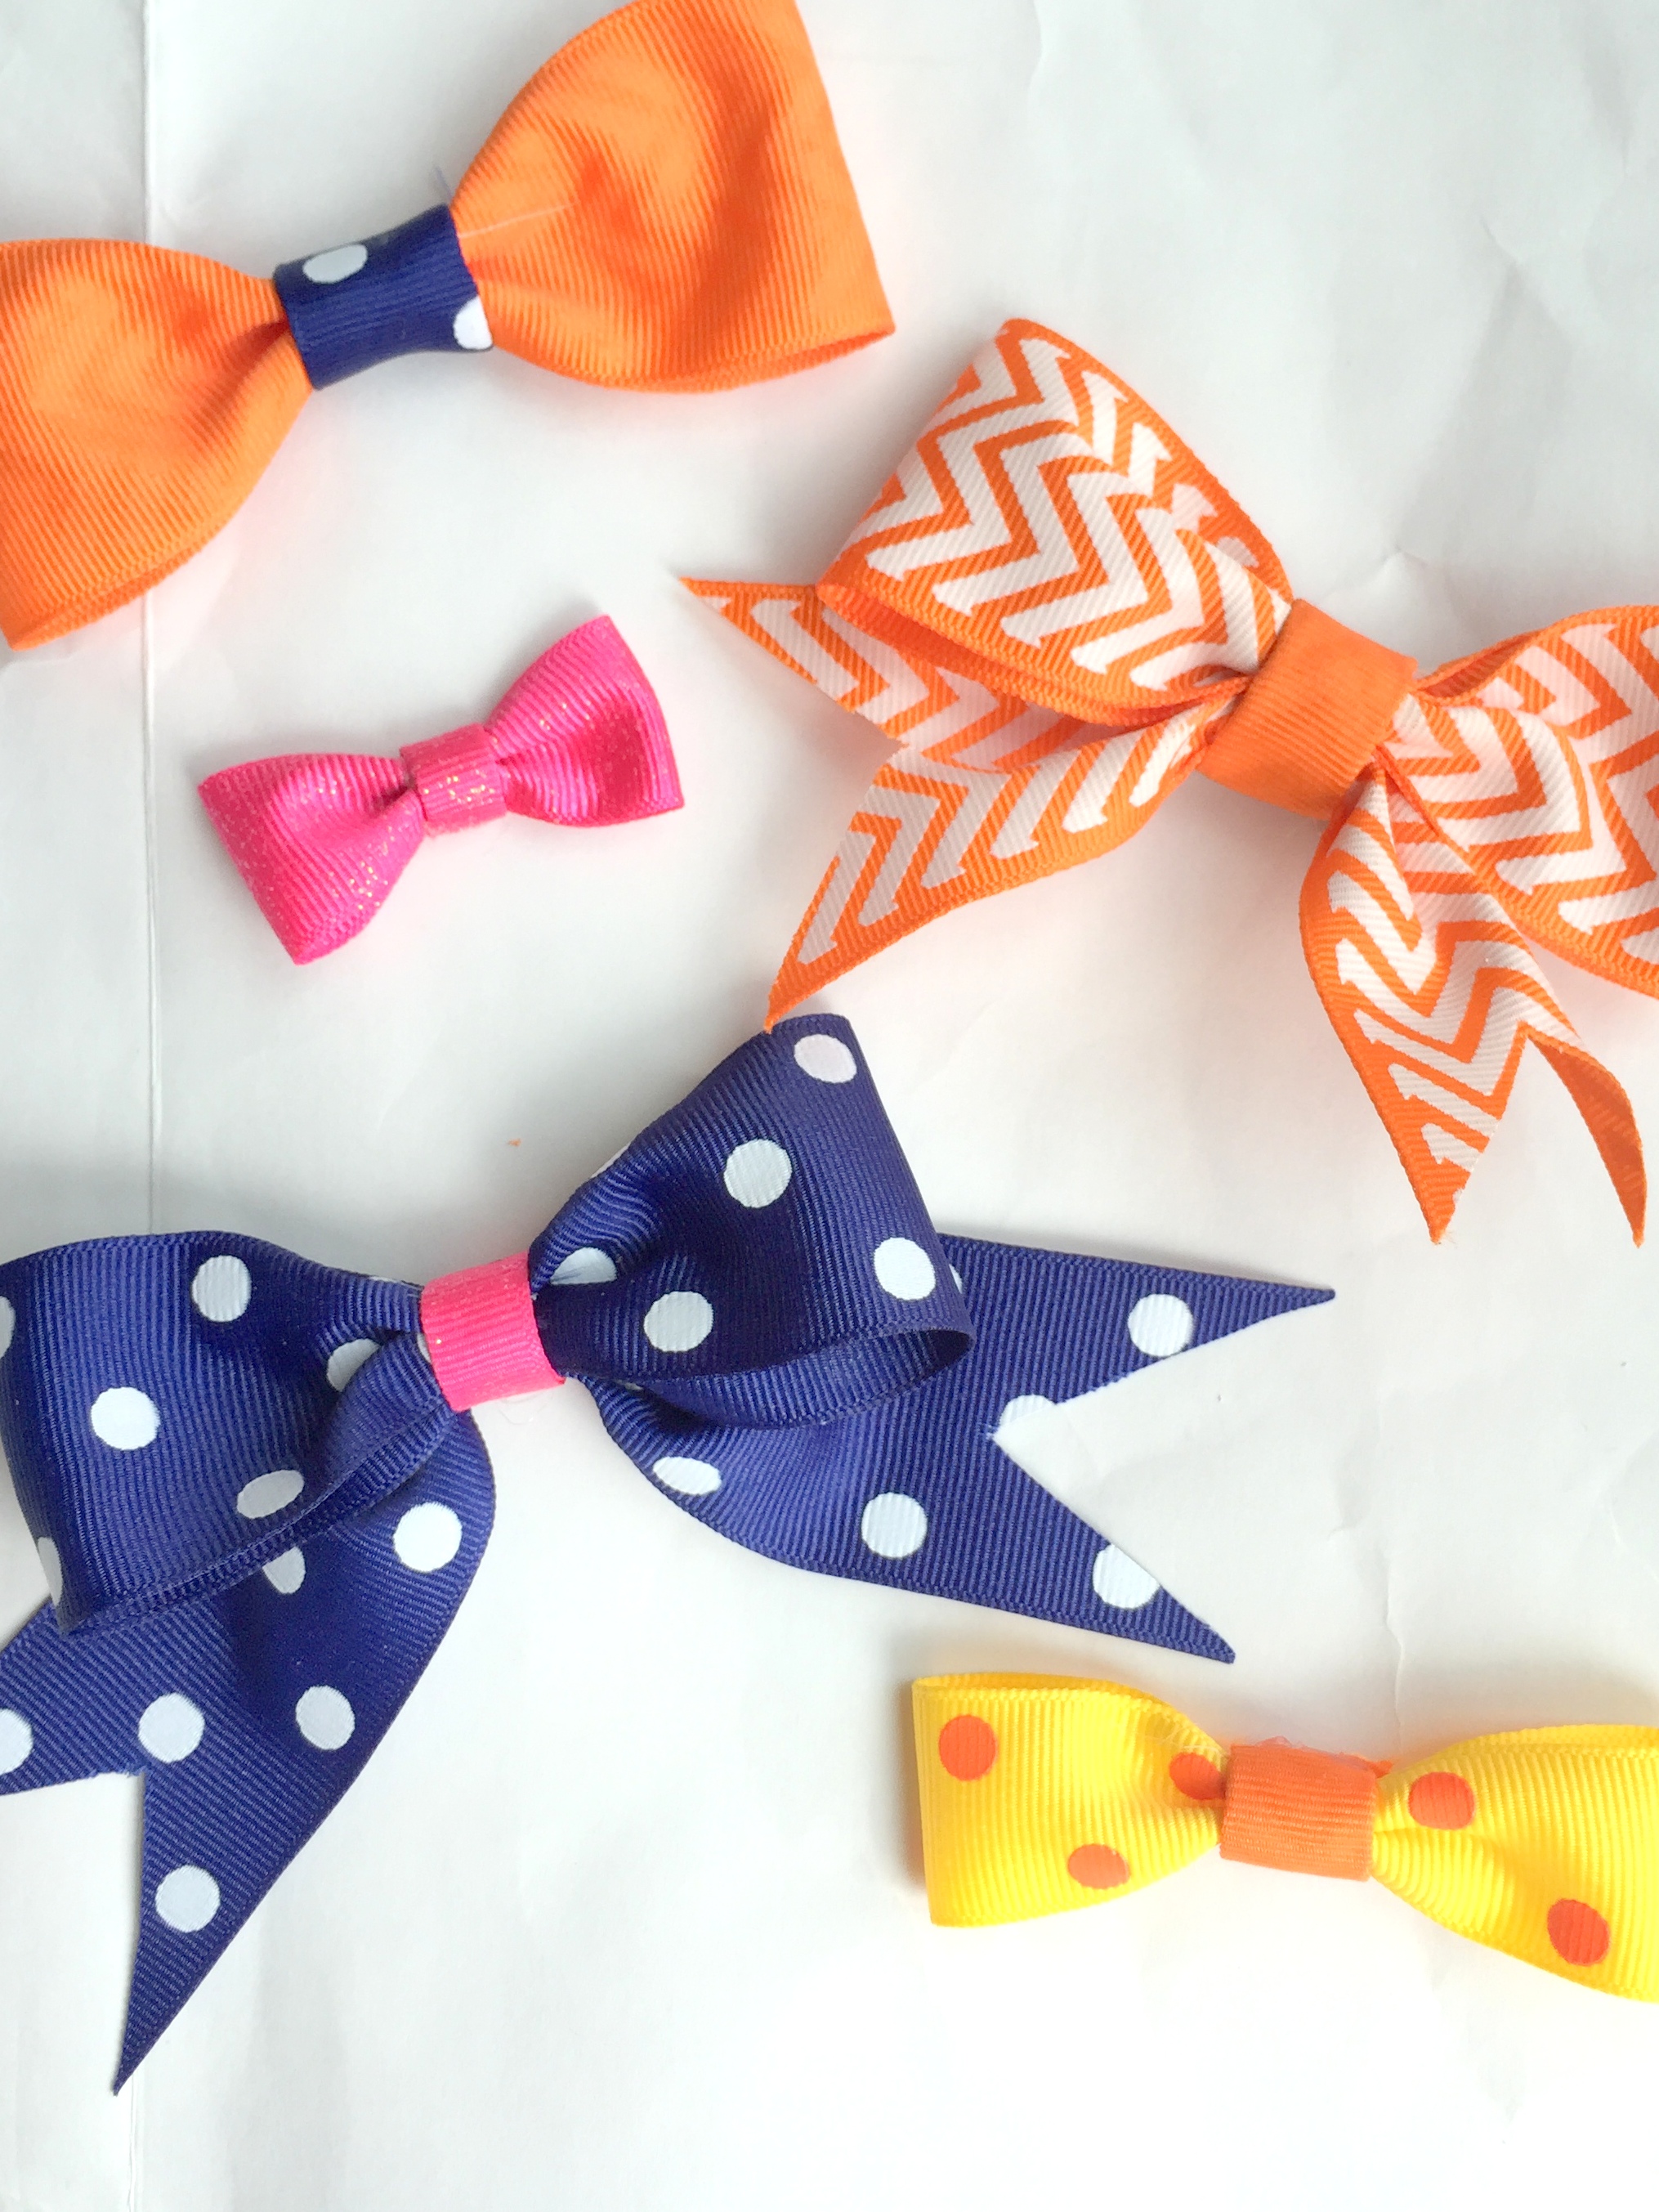
Once you know the steps to make your own ribbon hair bow you can make them in all shapes, sizes, colors, and patterns. And leave off the tails for a tinier/simpler bow, too.
Thank you to Offray for sponsoring this post! And thank you for supporting the brands that support Styled by Jess.

Your bows came out great, I would never think to make my own. Good idea, I totally need to make my own.
LikeLike